Let's End the Climber's Hunch Epidemic (How to Fix "Bad Posture", Climber's Back)
Hooper’s Beta Ep. 88
INTRODUCTION
You’ll see it all the time at the gym. Hands drooping, forearms on the thighs, rounded shoulders, upper back arched, forward head and bent neck. It’s the dreaded “climber’s hunch,” which not only makes you look kind of like a goose, but can lead to significant shoulder, neck, and back problems if you don’t do anything to counteract it. Luckily, I’ve got just the solution for you!
PART 1: WHY IS A CLIMBER’S HUNCH SIGNIFICANT?
Now, before I get started, a little public service announcement: People can continue to exist and climb with climber’s hunch just fine for quite a while. So this is not a death sentence. Don’t let it kill your self-confidence or motivation to climb. But, we gotta be realistic with ourselves when evaluating our health and performance, and climber’s hunch can significantly impact those two things in the following ways:
Shoulder pain, worse with overhead activities
Neck pain, particularly of the levator scapula or upper trapezius
Costochondritis - inflammation of the cartilage that connects a rib to the sternum causing clicking, popping, and even pain in the front of your chest/sternum.
Mid / upper back pain
And even lower back pain if you have a more developed issue
Oh yeah, and don’t forget the defeated-looking posture that makes you look like you just lost your life savings to cryptocurrency.
If it wasn’t obvious, all these will all make you worse at climbing, so if your goal is to get better at climbing... Stick around ;).
PART 2: WHAT CAUSES A CLIMBERS HUNCH?
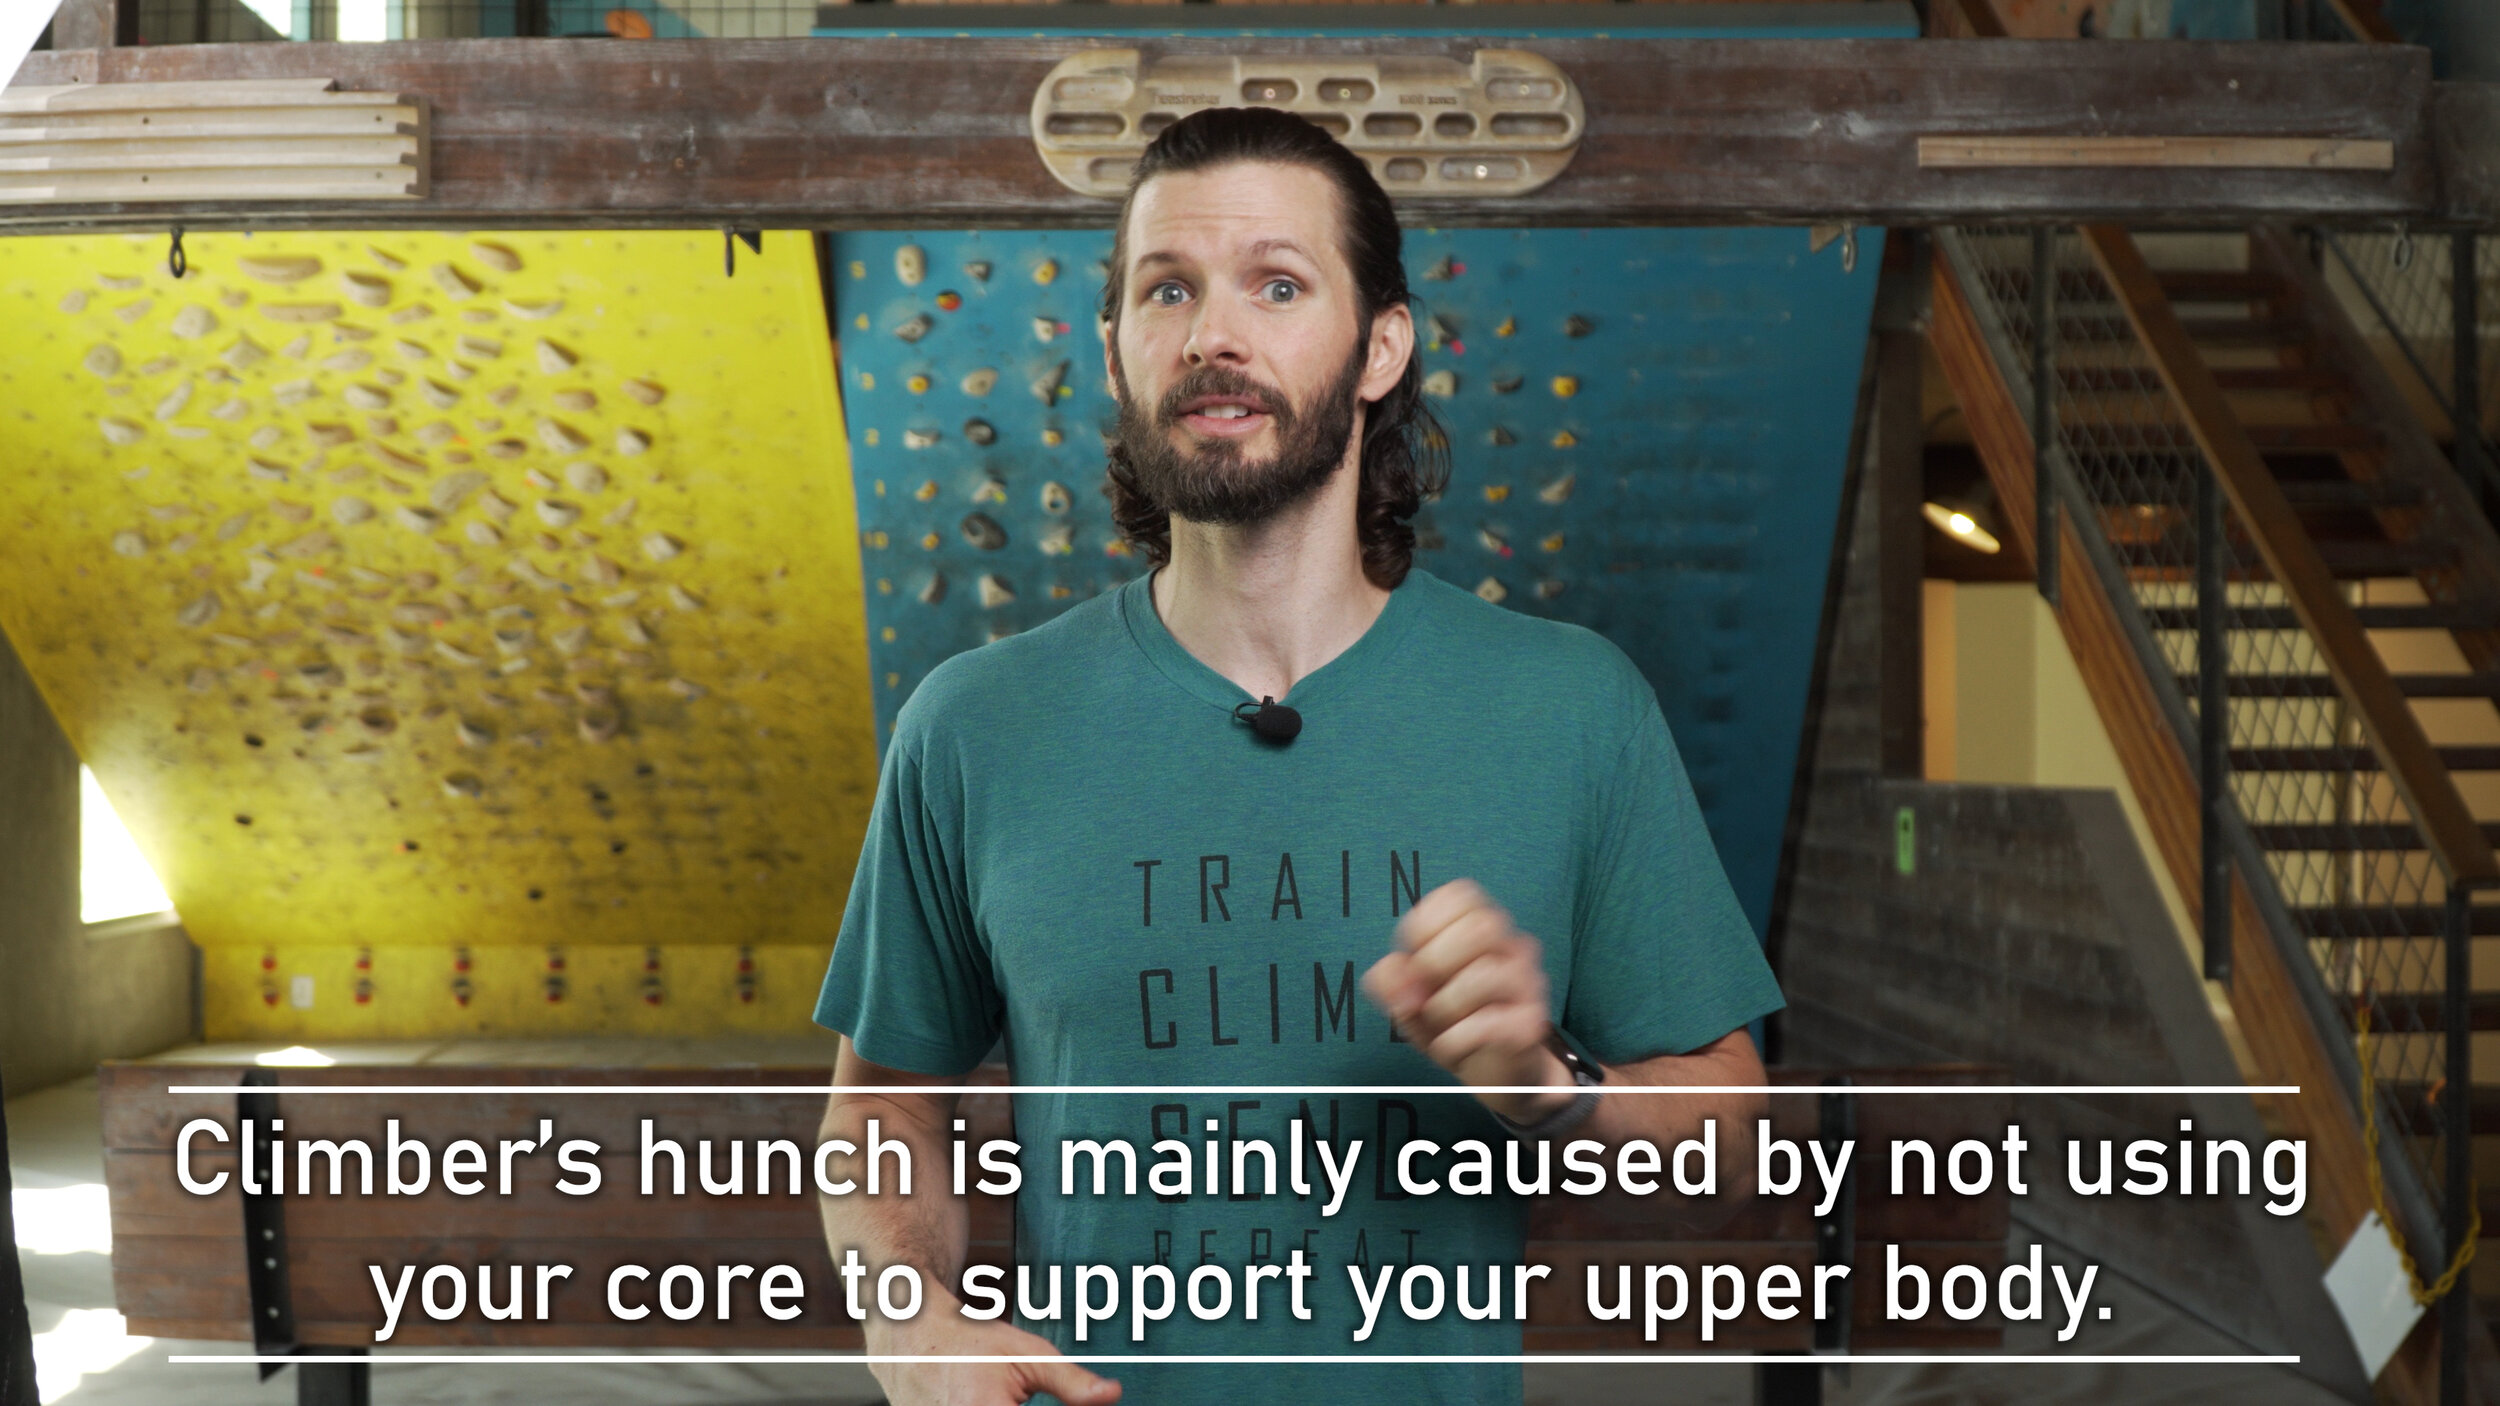
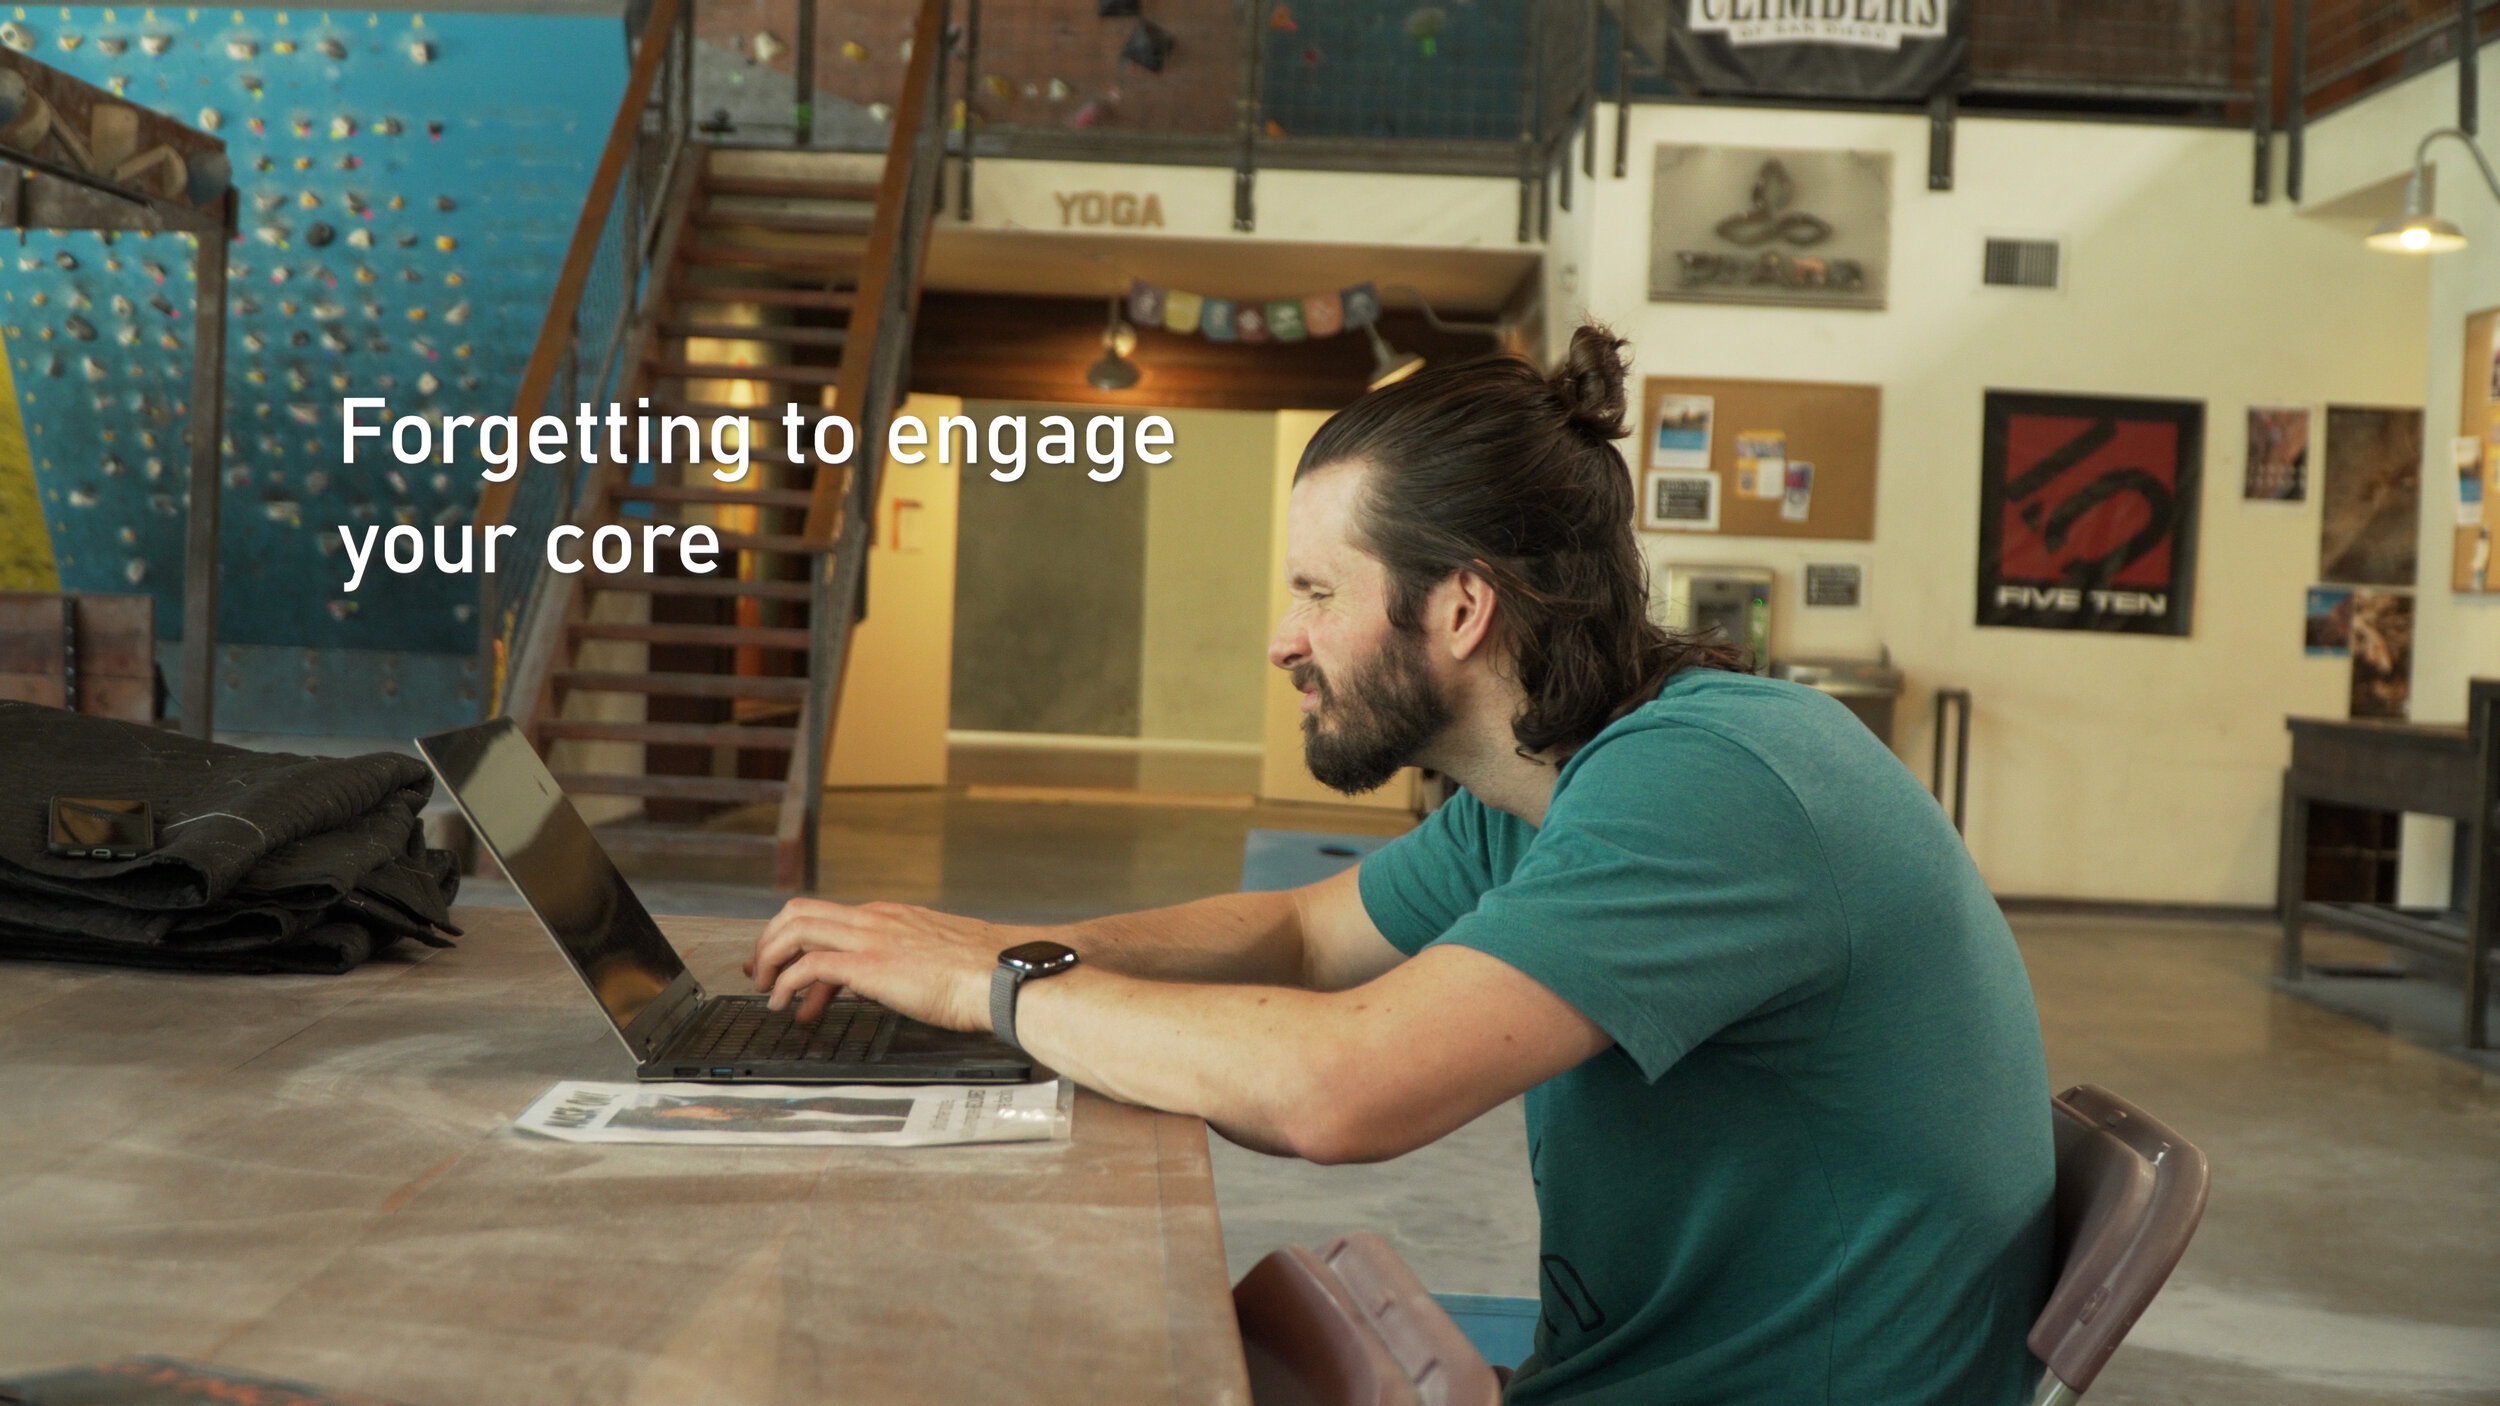
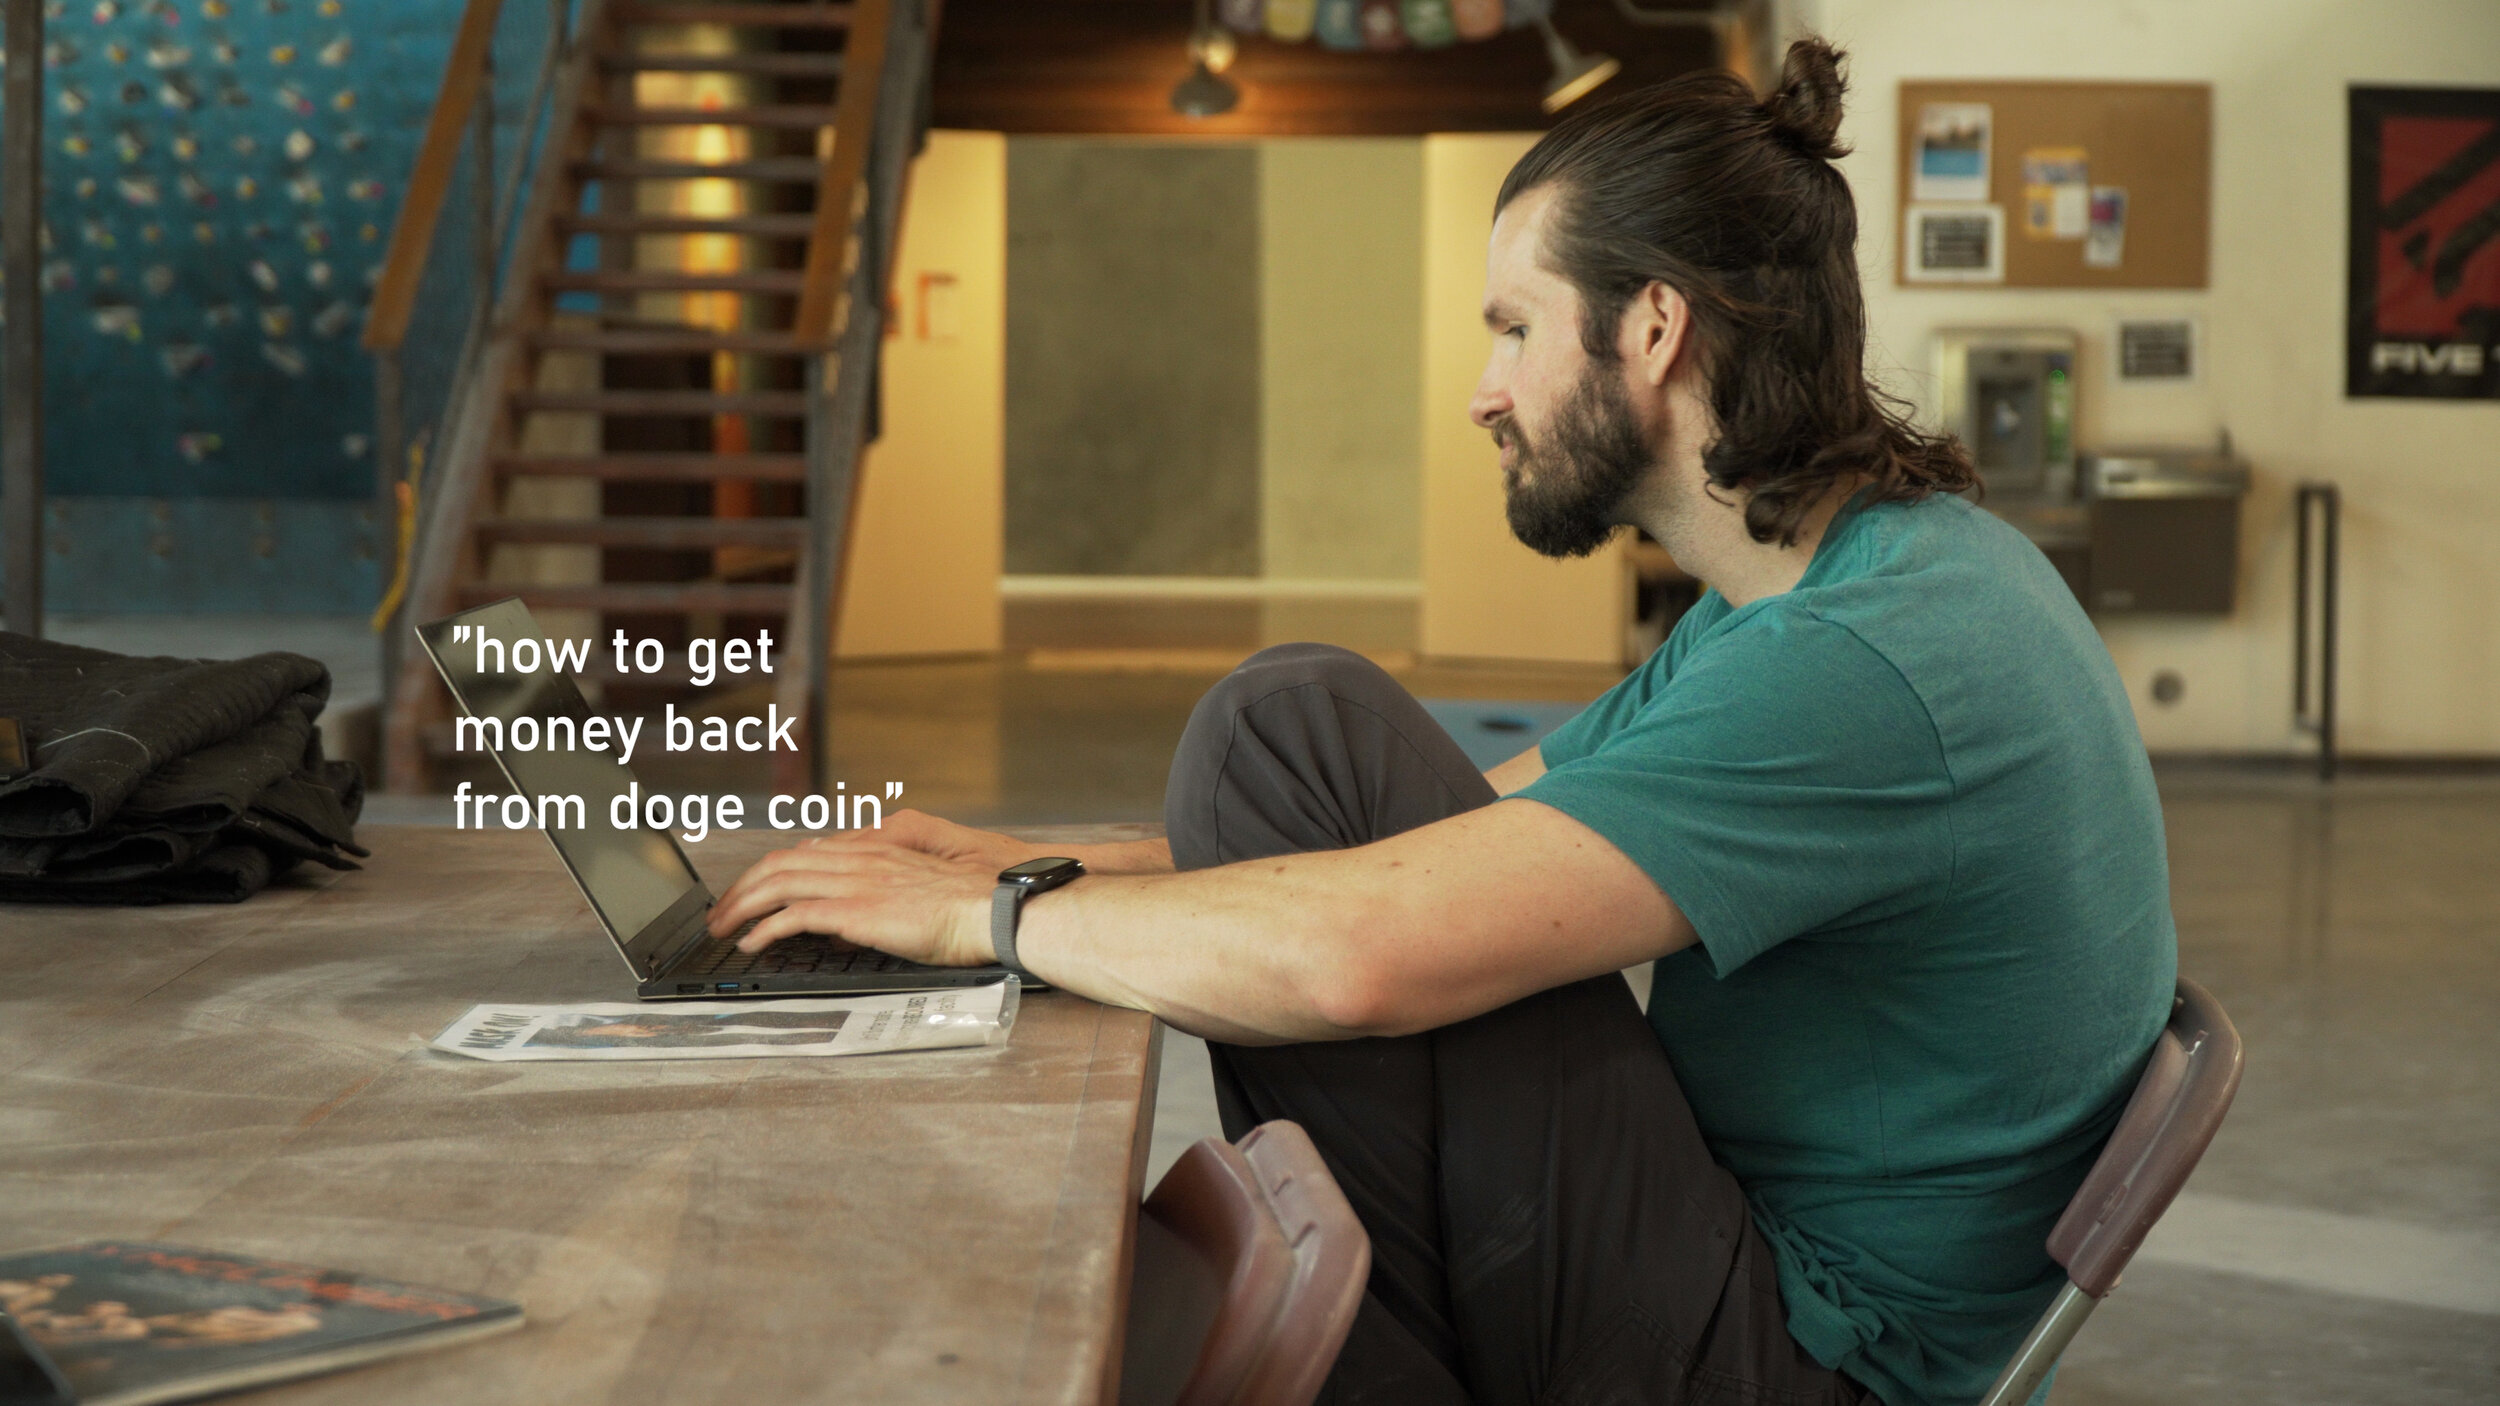
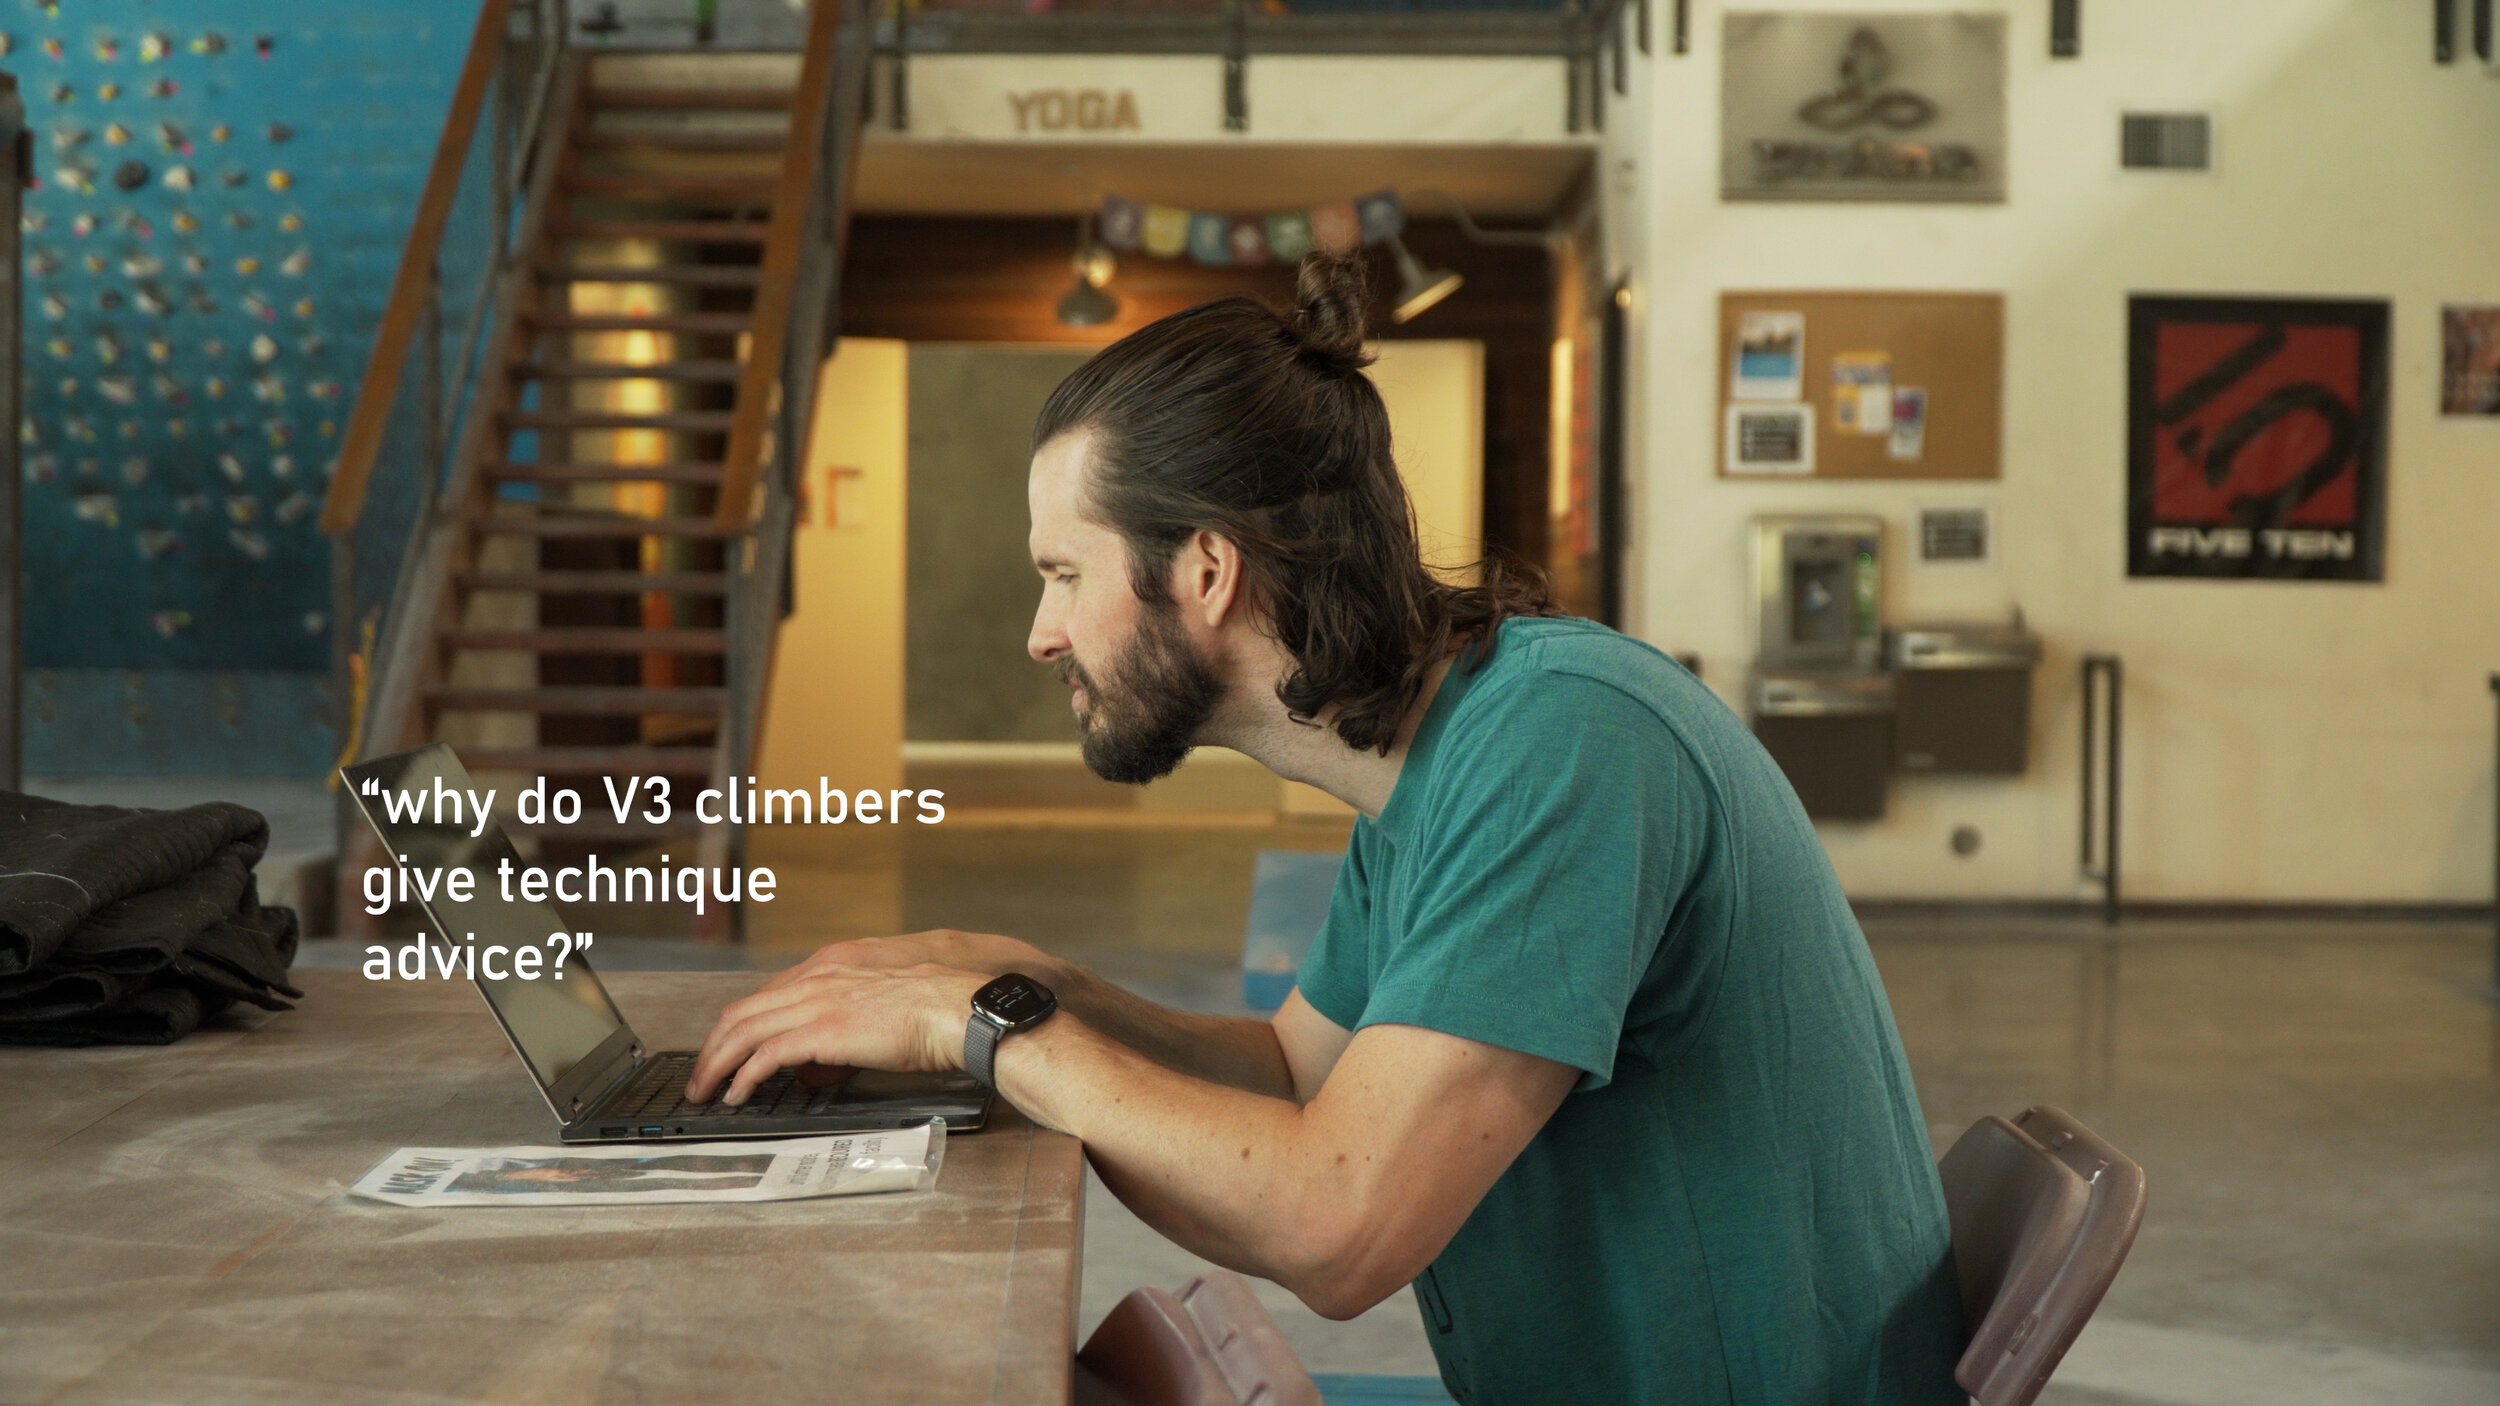
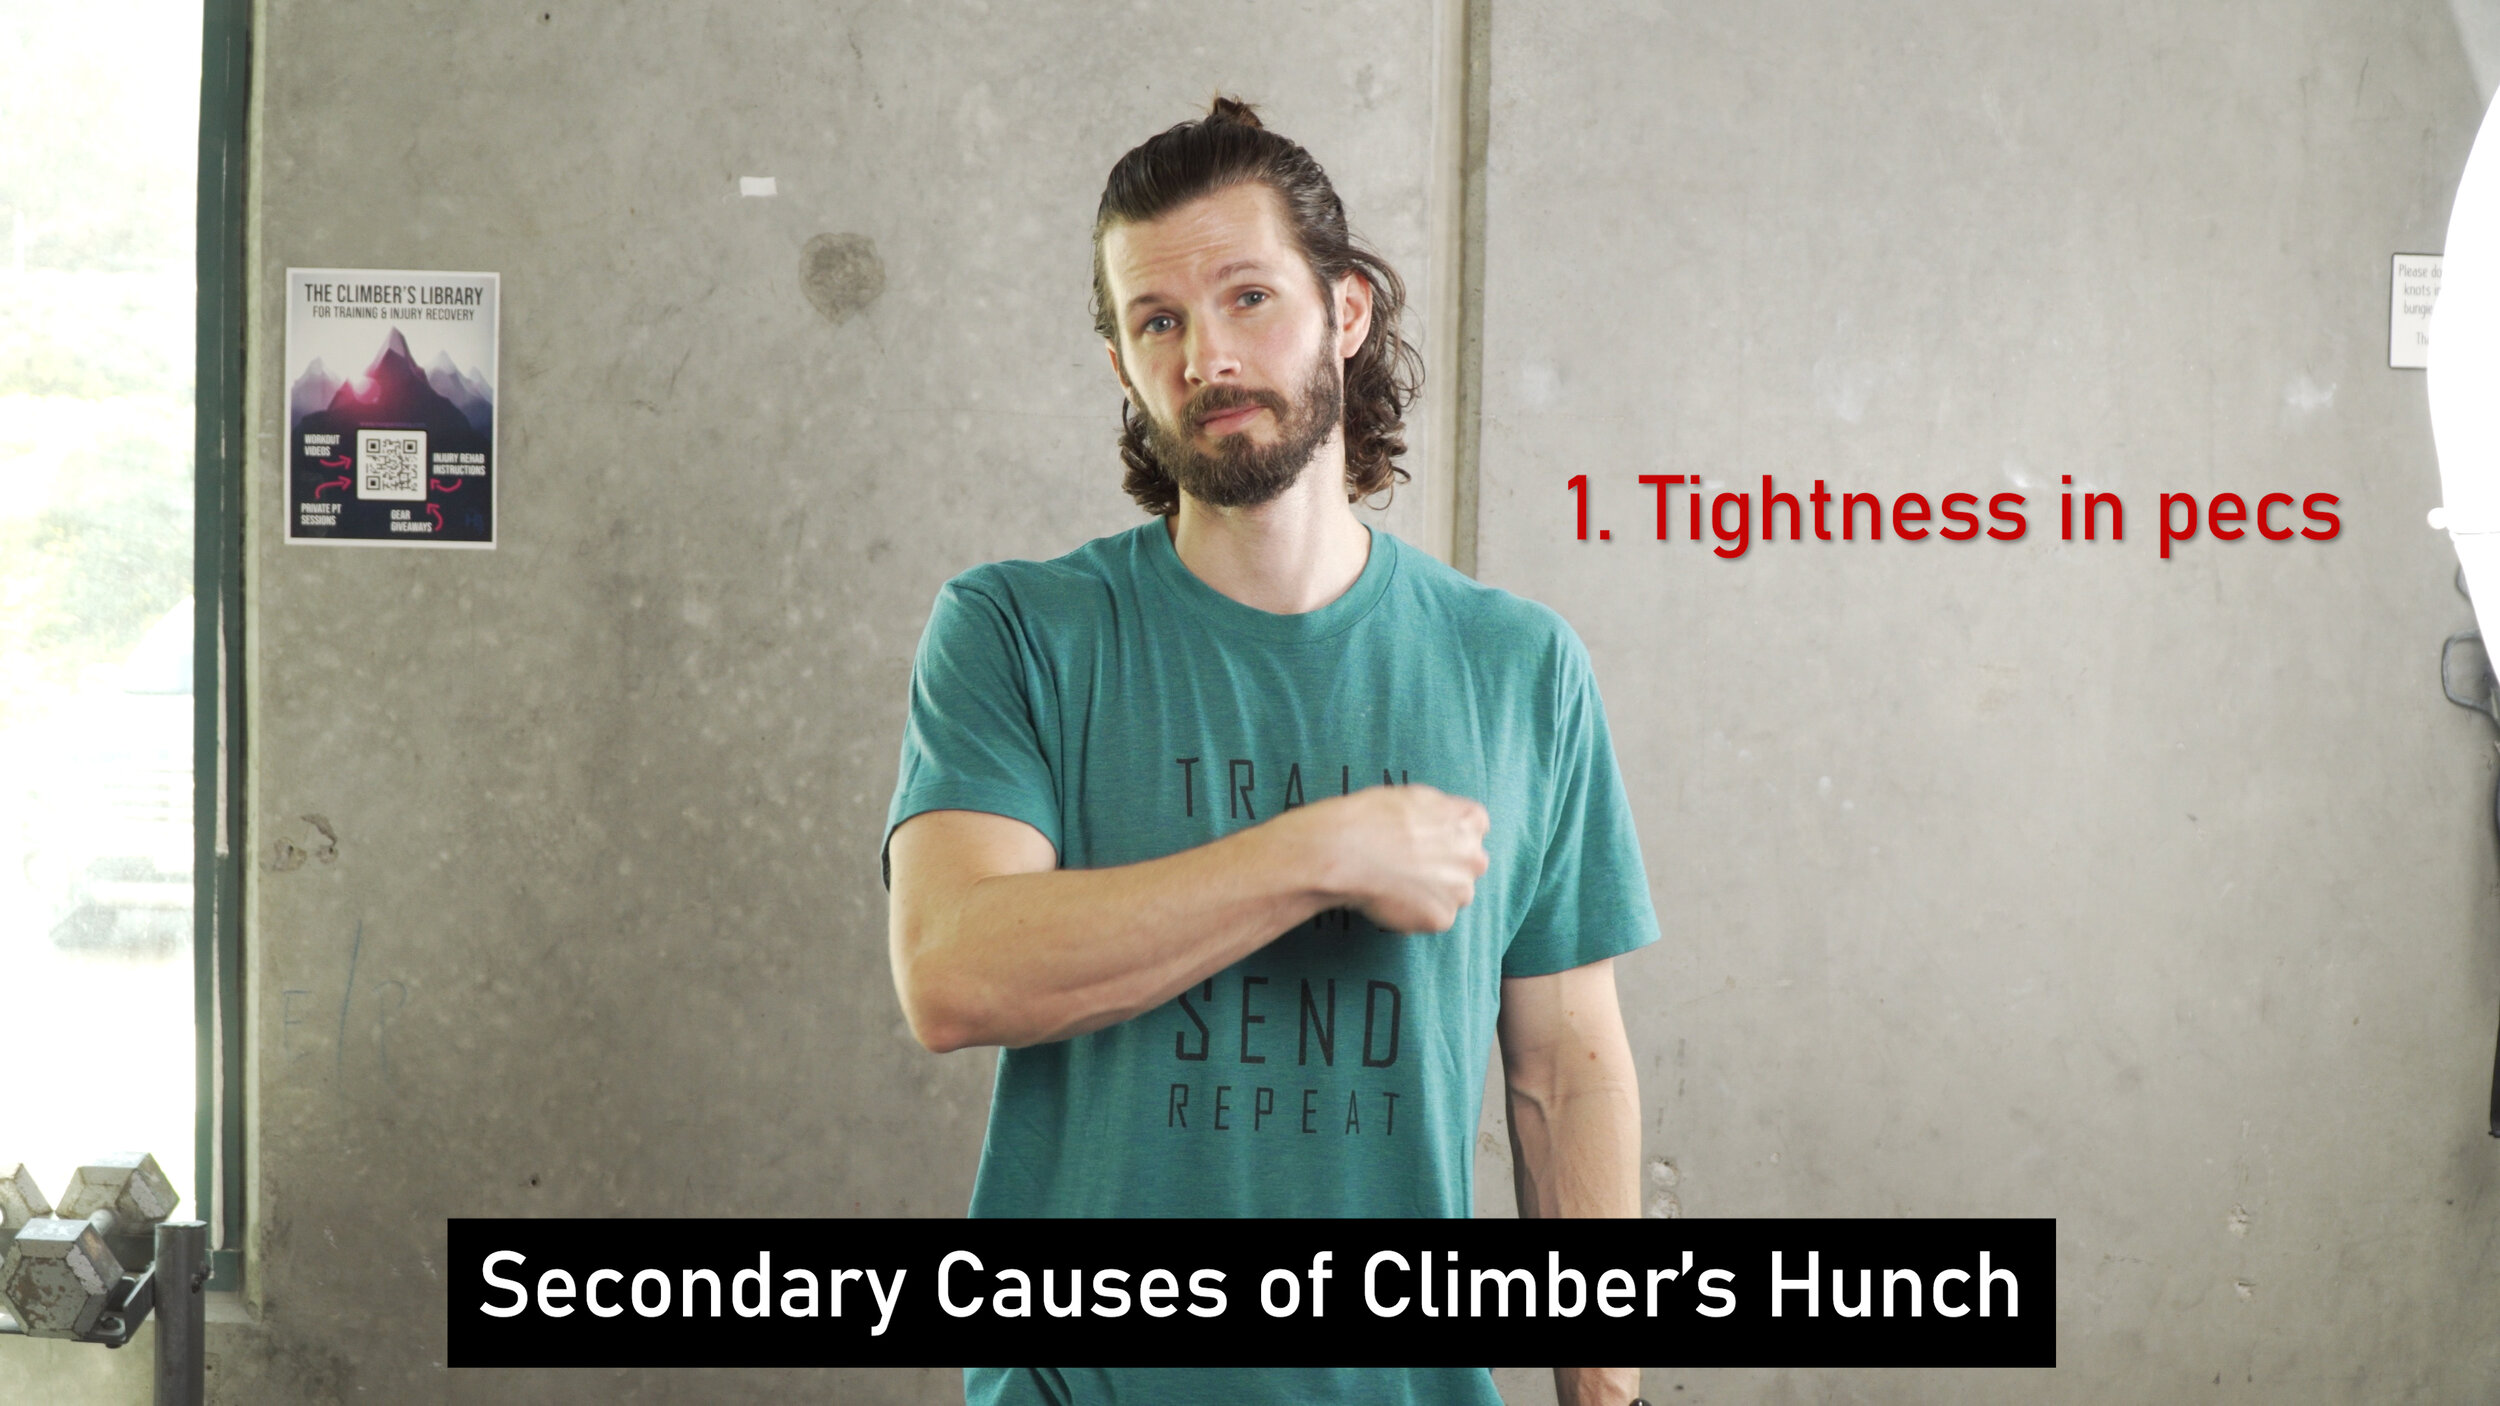
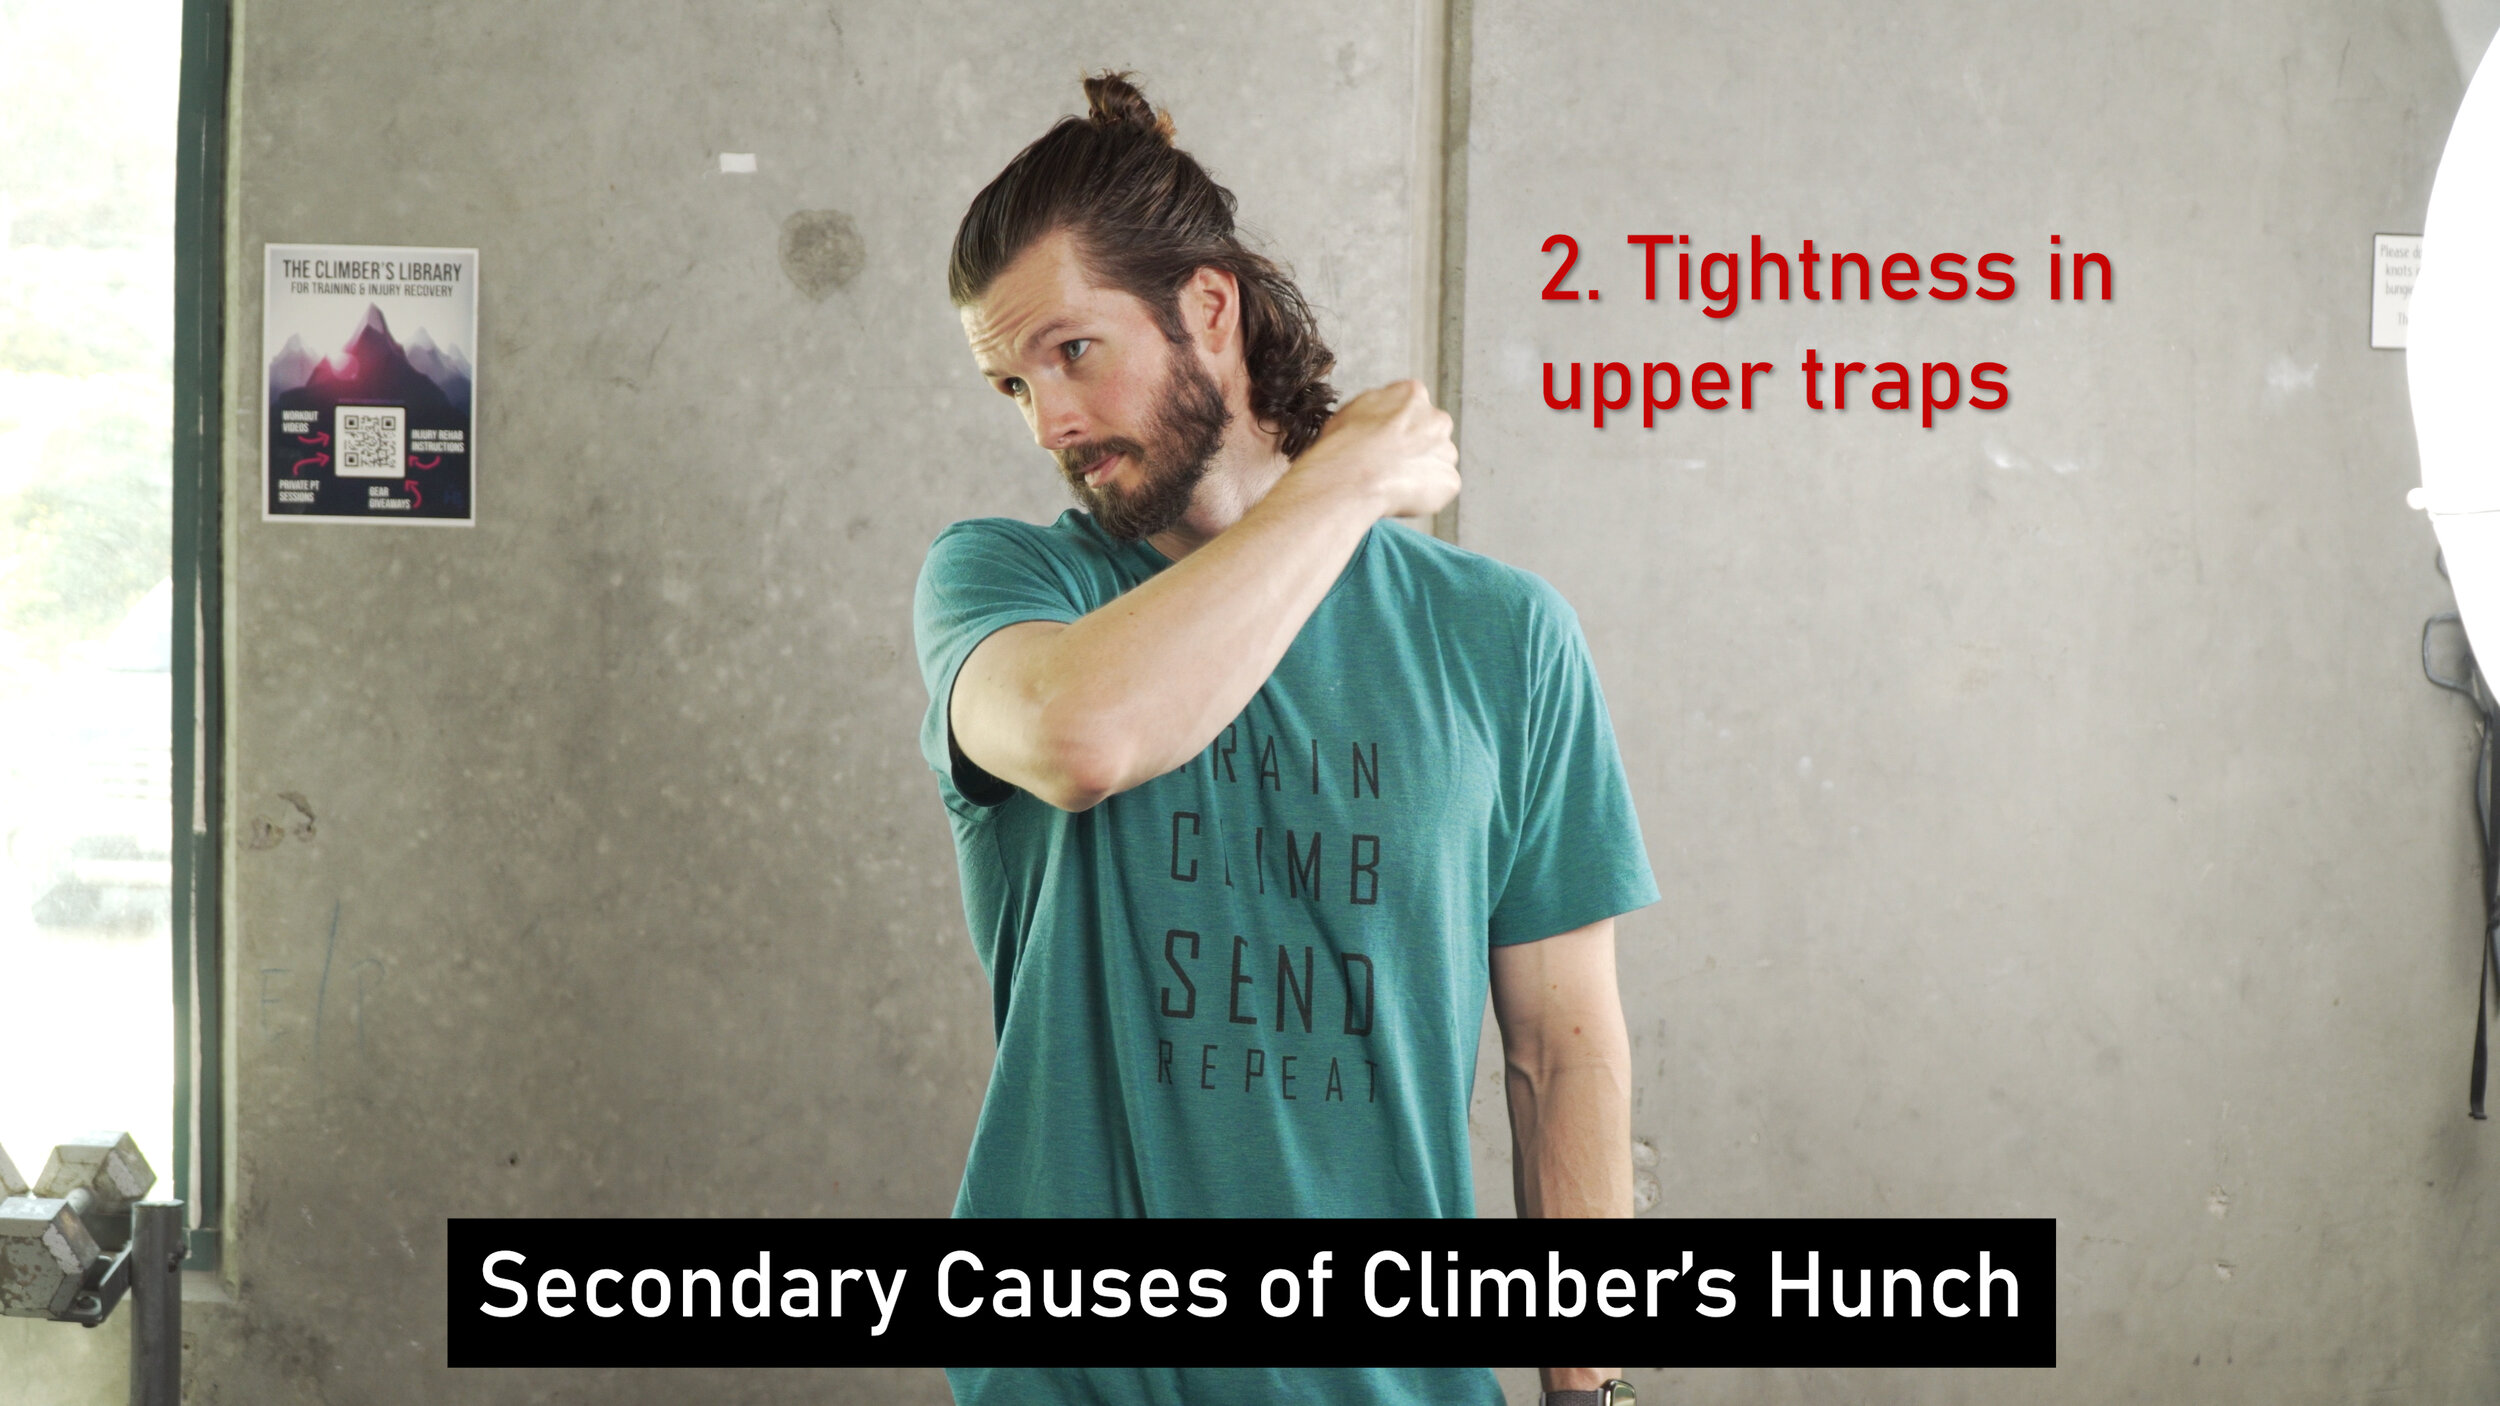
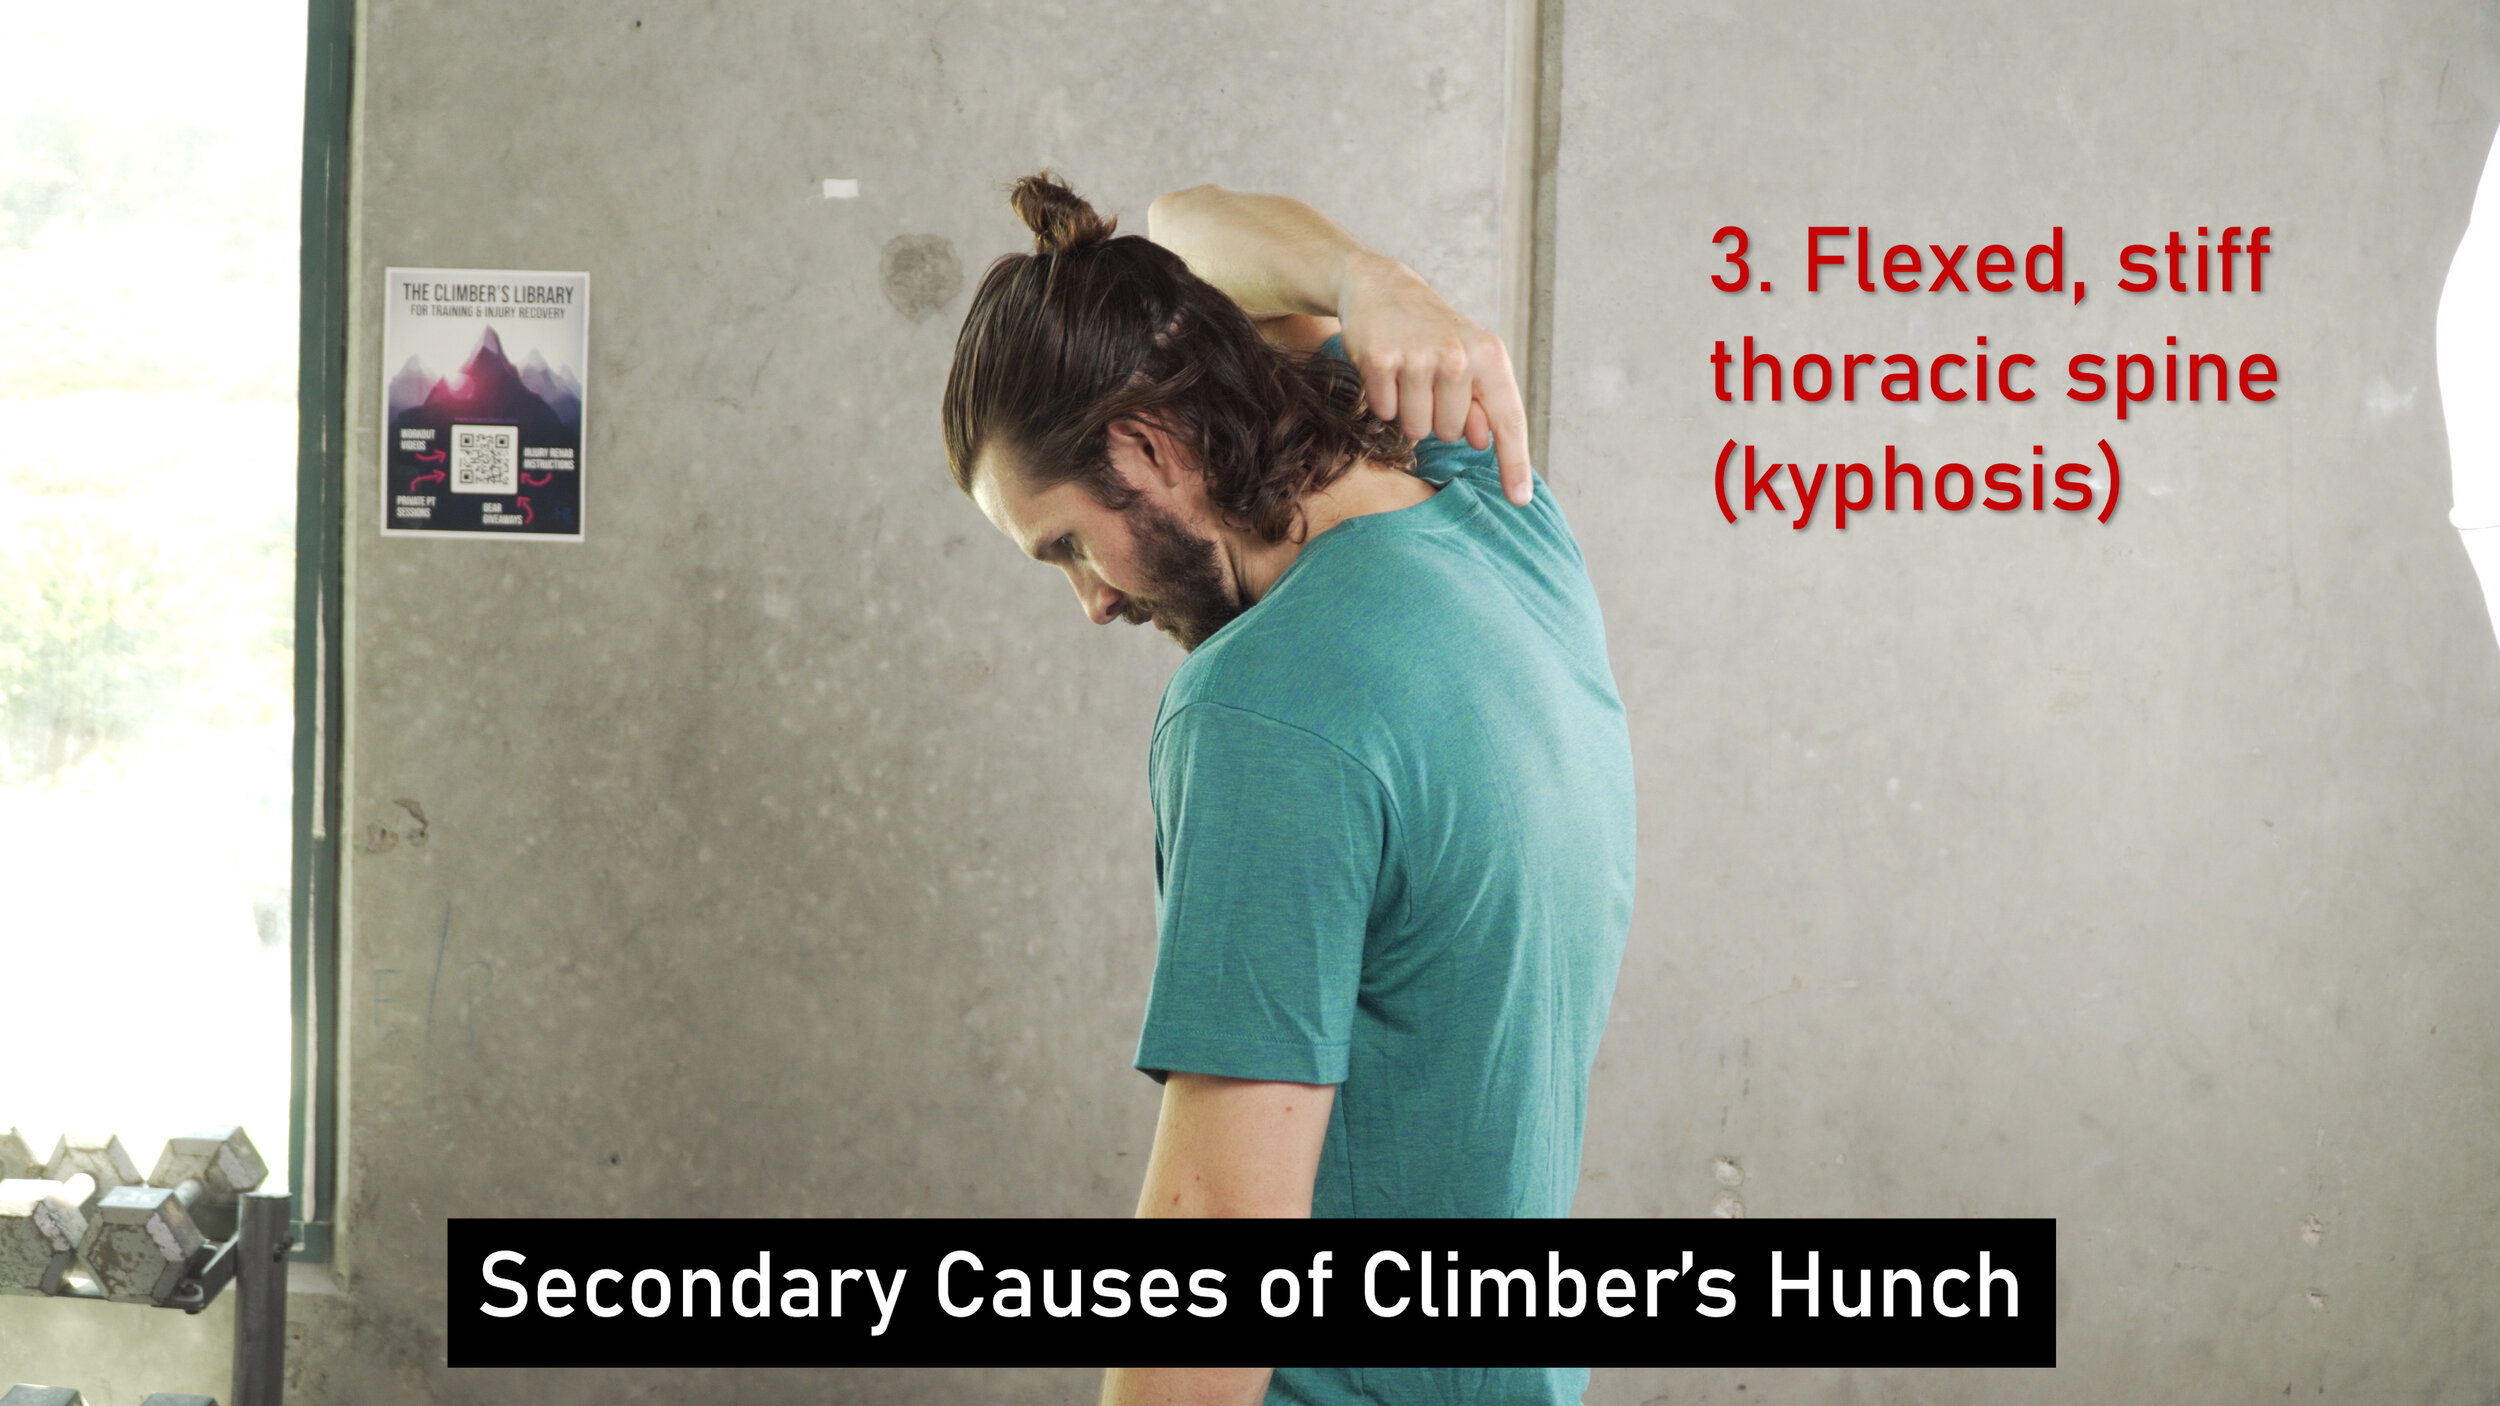
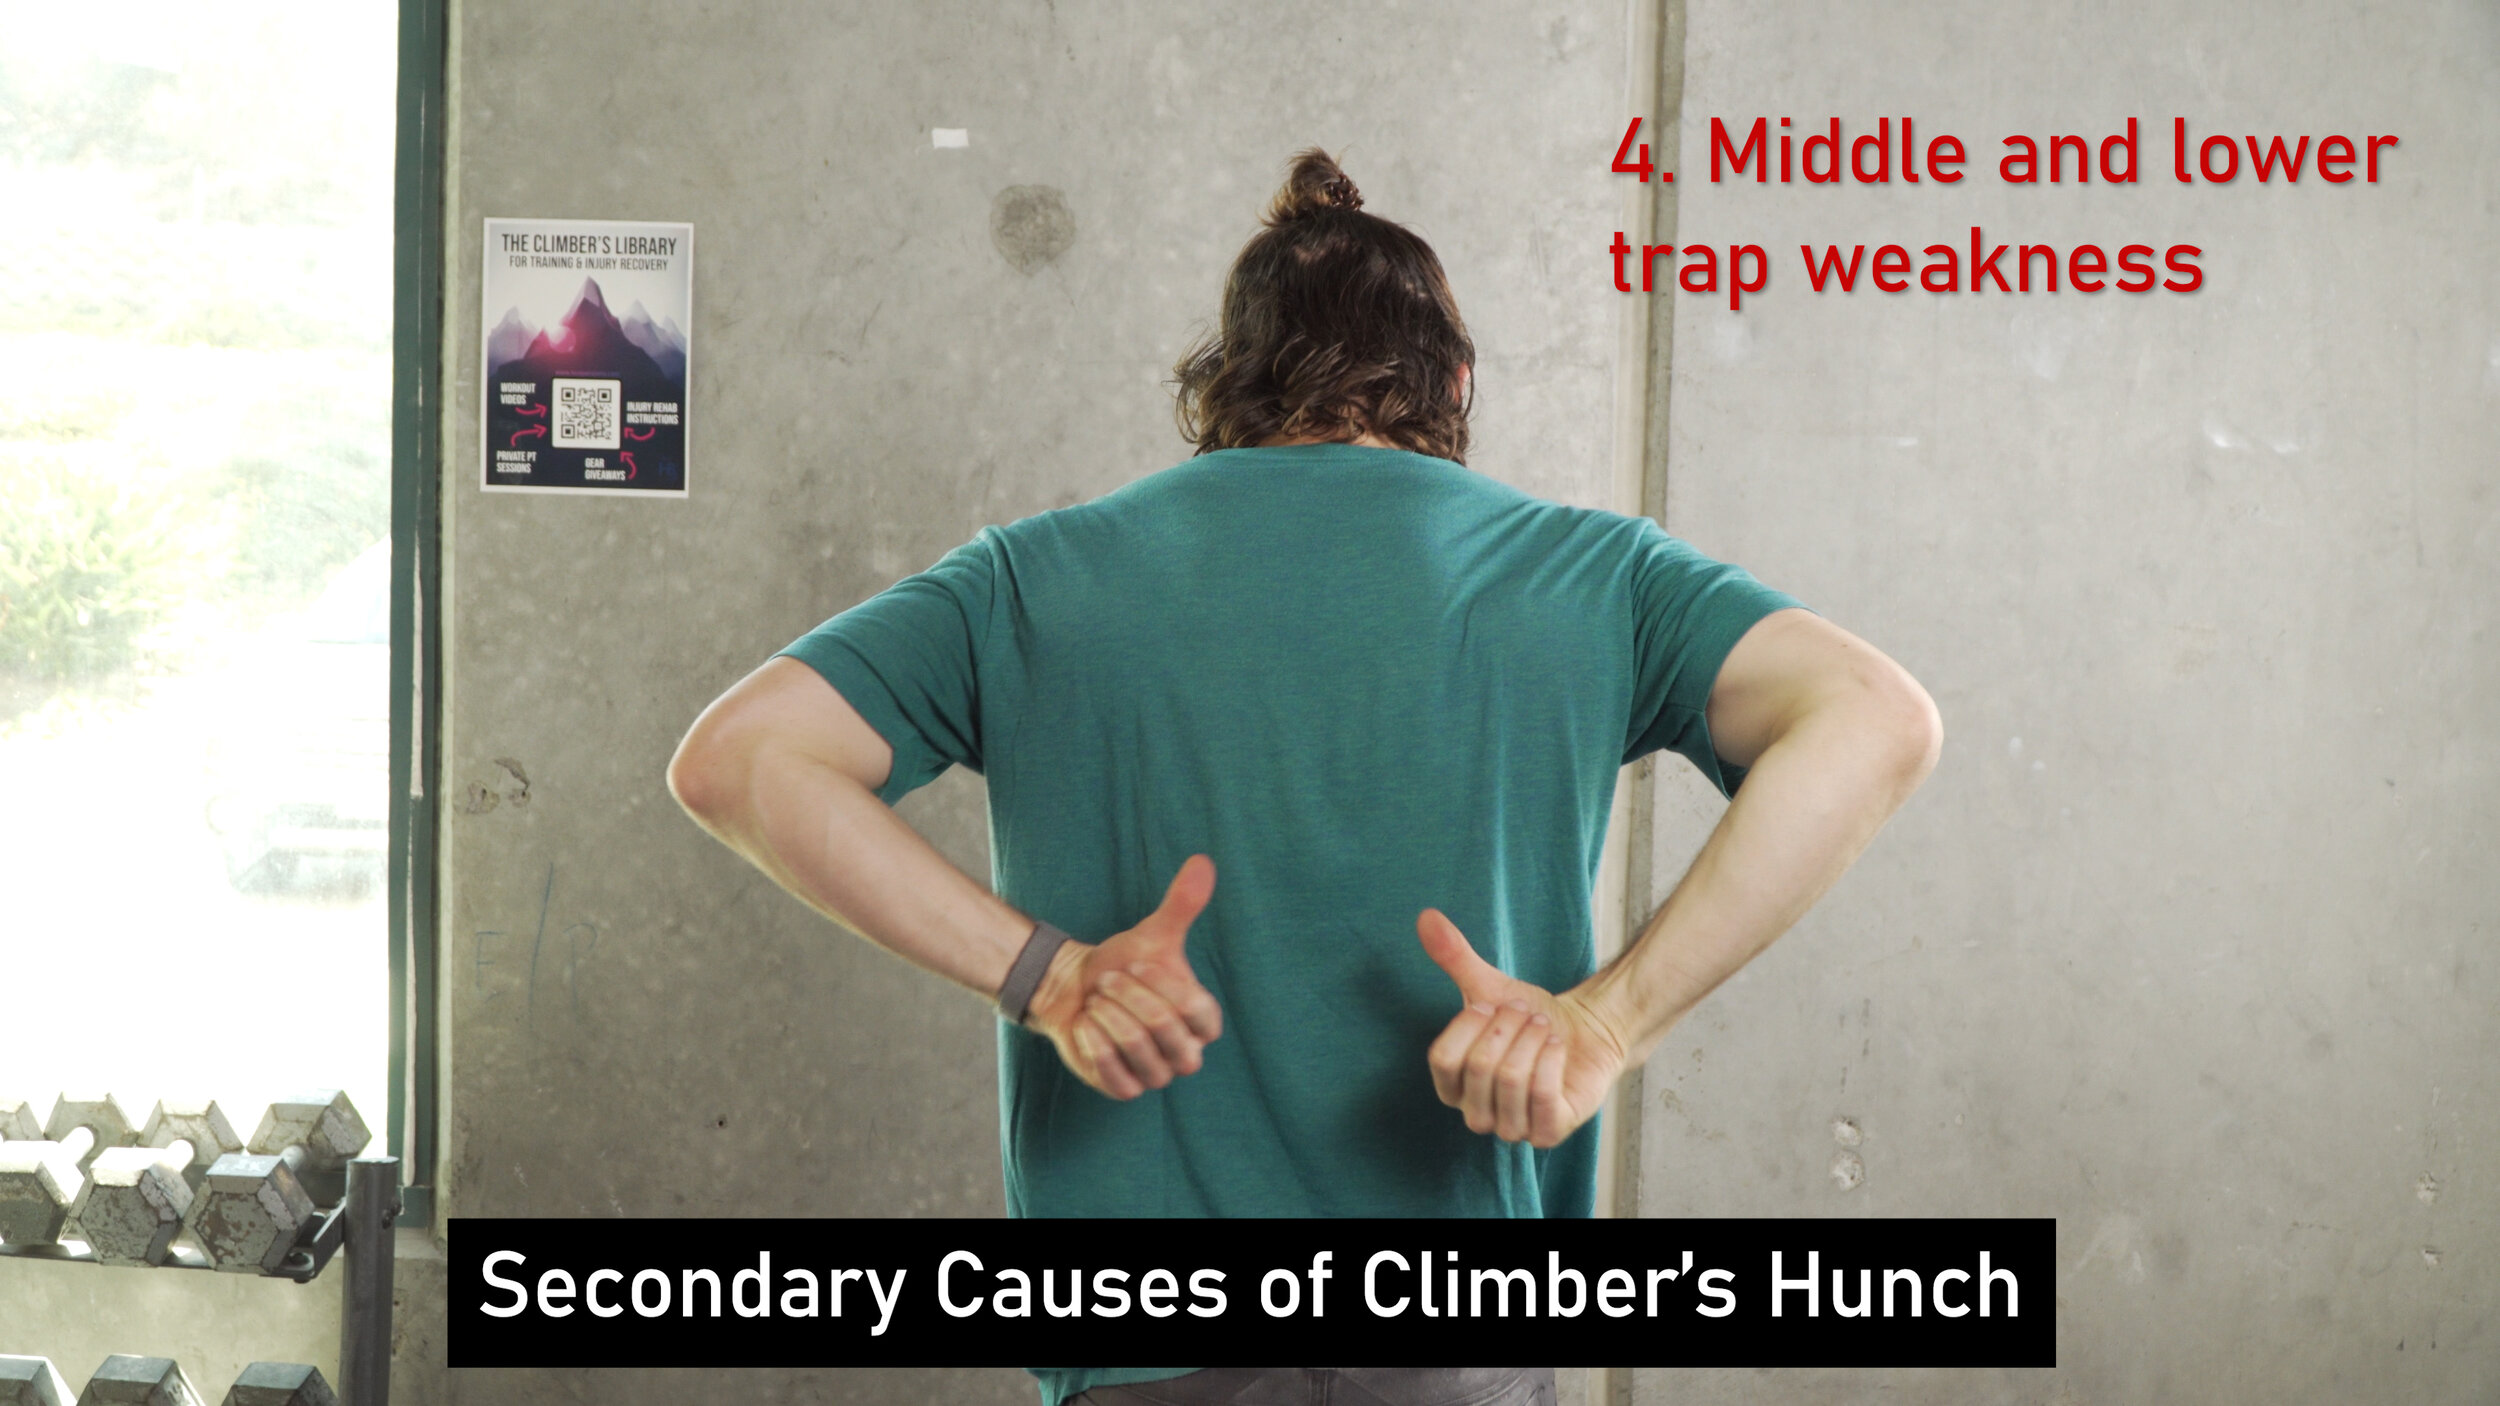
Climber’s Hunch has both primary and secondary causes. The primary cause is poor core activation and poor postural awareness leading to poor sustained postures. This leads to unideal anatomical adaptations, which become the secondary causes.
That was a lot, let’s break it down.
Over time, whether it be from long hours of sitting in school or at work, or just improper education on posture, we begin to forget to use our core for proper posture. Rather, we try to use our mid backs. This is often accompanied by simple poor postural awareness; aka, we don’t pay attention to how we sit, or failed attempts at creating “good posture” by engaging our upper backs turns out to be exhausting, so we give up. These failures then lead to us not caring so much about our posture, decreasing awareness and effort even further, and then we sustain these positions for long periods of time, which causes anatomical changes such as tightness in the pec major, minor and upper traps, increased kyphosis or a flexed thoracic spine, and possibly decreased strength of the middle and lower traps. Whew, that was a lot.
Now, let’s be clear. I’m not the posture police. In fact, I’d prefer moving away from the term “bad posture” and rather focus on the phrase “poor sustained positions”. I prefer this because, let’s be real, I can move into a classic “bad posture” for a minute, and come back out, and it will not have caused any long term damage. But, if you are not aware of your posture, and you sustain that position for hours at a time, that will cause anatomical adaptations which produces, in this case, the resulting “climber’s hunch”.
Now, all of us are prone to the aforementioned problems, but climbers are specifically prone to this because after pulling hard and coming off of a climb, the upper back muscles want to rest, and not be engaged. And remember, as we just discussed, poor education and poor core awareness leads to climbers thinking that proper posture comes from the mid back. But we just pulled so hard, we can’t work those muscles anymore! So, we give up. We slouch, and we stay that way. This doesn’t necessarily cause immediate pain or discomfort, but it causes a number of secondary issues, such as
Tightness in the pec minor and major
Tightness in the upper traps
Reduced mobility in the thoracic spine
And often reduced strength in the mid and lower traps
Let’s break that down so we fully understand these secondary issues. Sitting in that hunched posture changes your anatomy. Your shoulders are often rounded, causing the shoulder blade to protract and become anteriorly tilted, which shortens your pec minor and major and causes them to become tighter. You’re often looking ahead still but you're now holding your head up with your upper trapezius rather than your deep cervical muscles, so the upper traps become tight. Your back is stuck in this forward, kyphotic position, so you begin to lose extension mobility in your thoracic spine. And finally, all of those compensations change your motor control patterns while climbing, so you may have a resulting decreased strength of the middle and lower traps. Boom. Now we have an issue that needs to be addressed. We have a climber’s hunch.
Now, before we get into treating this awful, grotesque climber’s hunch, let’s see how we can test ourselves to see if we are in full quasimodo status, or if we are just in training to be the next hunchback of Notre Dame.
PART 3: ASIDES FROM MY FRIENDS TELLING ME I HAVE THIS, HOW CAN I TEST IT? (if I don’t have any friends)
This test is designed to identify areas of deficient mobility, strength, or awareness in your anatomy that make you prone to climber’s hunch. Specifically, we’ll look at:
Core control and awareness
Mobility in the thoracic spine
Positioning of the shoulders
To do this test, you’ll perform each of the following four steps in order and identify potential limitations along the way. Turn up the volume on your phone or computer and follow along with me!
STEP 1: Stand with your heels approximately 12 in or 30 cm from a wall.
STEP 2: Place your sacrum and lower back flat on the wall and work the entire spine up to be flat.
Were you able to get your lower back flat on the wall? If not, you may not have great control of your core and/or pelvis.
STEP 3: Place your head against the wall by extending your neck back until it gently rests against the wall.
First, how much extension did it take for you to touch the wall with your head? Were you staring up at the ceiling by the time your head touched? If so, you may have a much stiffer/rigid and more flexed or kyphotic thoracic spine. The amount of extension required to touch the wall in this step can definitely be a confirmation of a climber's hunch, if not at least an indication of its current stage of development.
Second, what are your shoulders doing? Were they both close to the wall or were they quite rounded and forward? This may be an indication of a tight pec minor.
STEP 4: Perform a chin tuck to try and straighten your spine further until you are looking straight ahead.
Did you feel like it created a huge stretch and you were at max effort to try and look straight ahead again? Or was it nice and easy and you could hang out there, casually? The amount of effort in this stage is another indicator of your spine's mobility, or lack thereof. The more effort required to get into position, the stiffer/more rigid the spine.
Results Summary
And you’re done! If all these positions were very easy for you, you likely aren’t prone to climber’s hunch as you have few anatomical limitations in those areas. You may still exhibit some signs of hunching due to poor postural awareness, though, so this video can still be of benefit.
On the other hand, if you found many of the positions I described difficult or even impossible to achieve, you’ll definitely want to keep watching so you can learn what to do about it.
PART 4: HOW DO WE FIX CLIMBER’S HUNCH?
To fix the hunch, we’ll follow a recipe of mobilizing + stretching, and then strengthening (while also improving our core awareness)! This system will address both the primary and secondary causes of a climber’s hunch! Do this routine at least once a day, or multiple times if you’re the go-getter type. The stretches should only take about 10 minutes, and if you incorporate the other exercises into your training routine you’ll hardly be adding any time, plus you’ll look super confident! I mean, look at me! Look how confident I look! (Jason super exaggerates his confident posture like a manly man.) I can climb V0 like it’s nothing!
Thoracic Extension
I prefer to work on foam rolling and mobilizing the spine before stretching because it helps loosen up the muscles and mobilizes the spine, which will allow you to get in deeper stretches later.
As a result, we start with our thoracic extension on a foam roller. If you don’t have a foam roller, it’s time to order one. I recommend a 36 inch roller for versatility, but a shorter one can work too.
Foam roller on Amazon https://amzn.to/3cGVz9G
Place the foam roller on the floor. If you are newer to this, I recommend doing it on carpet or yoga mat for more give as the dense foam can be a little intense.
Part 1:
Sit on the ground and lie on the foam roller so it touches your midback.
Support your head and neck with your hands.
Lift your but off the ground and slowly roll up and down the foam roller.
Perform for about 60 seconds working from the shoulder blades to the lower mid back or near the bottom of your rib cage.
Part 2:
Next, rest your butt back on the ground. It will remain here for part 2.
Keep your hands clasped behind your head/neck supporting your head.
Take a deep breath in, then exhale as you extend your head and neck over the foam roller.
Perform 2-3 times in each location, moving 1 segment (or about 1 inch) at a time higher or lower. The target area remains the same as before: from the shoulder blades to the lower mid back or near the bottom of your rib cage. .
Once you have worked through here, time to move on to the upper thoracic spine. For this, we need a peanut. No, not the edible kind. The foam kind that gets in between your shoulder blades.
You can purchase one from amazon (affiliate link: https://amzn.to/3wFKjC4), or just duck tape two tennis / lacrosse balls together.
Start with a similar setup to the foam roller.
Place the peanut on the floor (carpet or yoga matt recommended for the first few times) and sit down near it.
Lie back on the peanut, landing with it near your lower/mid scapular region.
Rest your head all the way on the ground and then perform a small chin tuck
Engage your core and/or tilt your pelvis so your lower back is flat on the ground
Raise your arms straight up in the air
Take a deep breath in, and then exhale as you allow your arms to fall overhead.
Perform 2-3 breaths and then slide your body slightly down, moving 1 segment (or about 1, 1.5 inches) and repeat!
Stop once you get towards the top of the shoulders / bottom of the neck region.
Side note: if you have a swiss ball / large exercise ball, you can also work on extension for your entire spine just by laying on this. It’s a great option, but requires another piece of equipment. OK back to the main vid
Sets, reps, frequency: both of these activities can be performed for 1-2 minutes each and they can be performed up to 3 times a day.
OK so we got the spine mobilized, now it’s time to stretch.
Stretching
As mentioned before, the pec minor and major can become super tight which can worsen this posture, so, time to stretch it out!
Now, a lot of people love a pec stretch on a foam roller, I do as well. BUT, some of you may discover your arms easily touch the ground with this and you don’t get a huge stretch in all areas. As such, we are moving to a door frame!
To be super effective, we are going to do a 3 part stretch here.
Start with your hands low and finger tips pointing down and away from you. Keep your elbows bent and place them on either side of the doorframe. Step forward with 1 leg. Don’t lean forward. Enjoy the gentle stretch across the chest and/or front of your shoulders.
After 30-45 seconds, slide your hands up to the 90/90 position (90 degrees of shoulder abduction, 90 degrees of elbow flexion). Again, step forward, and hold. This one may start to feel really tight, so you may need to focus on one arm at a time. In which case drop one arm off of the wall, and isolate the other for 30-45 seconds until you switch.
Finally, slide the arms up until you are at about 120 degrees, and repeat! Again, keep the elbows slightly bent here otherwise you may get more of a bicep stretch. Also again, if you don’t feel this one as well while doing both arms at the same time, drop 1 arm down and focus on the other. Hold again for 30-45 seconds, and you’re done!
Sets, reps, frequency. This 3 part pec stretch series should be performed two or three times in each position, 30-45 seconds in each position, and can be performed multiple times a day.
Now, the neck can also get tight with this so I have two other quick stretches I recommend.
A chin tuck
Upper trap/ Levator stretch
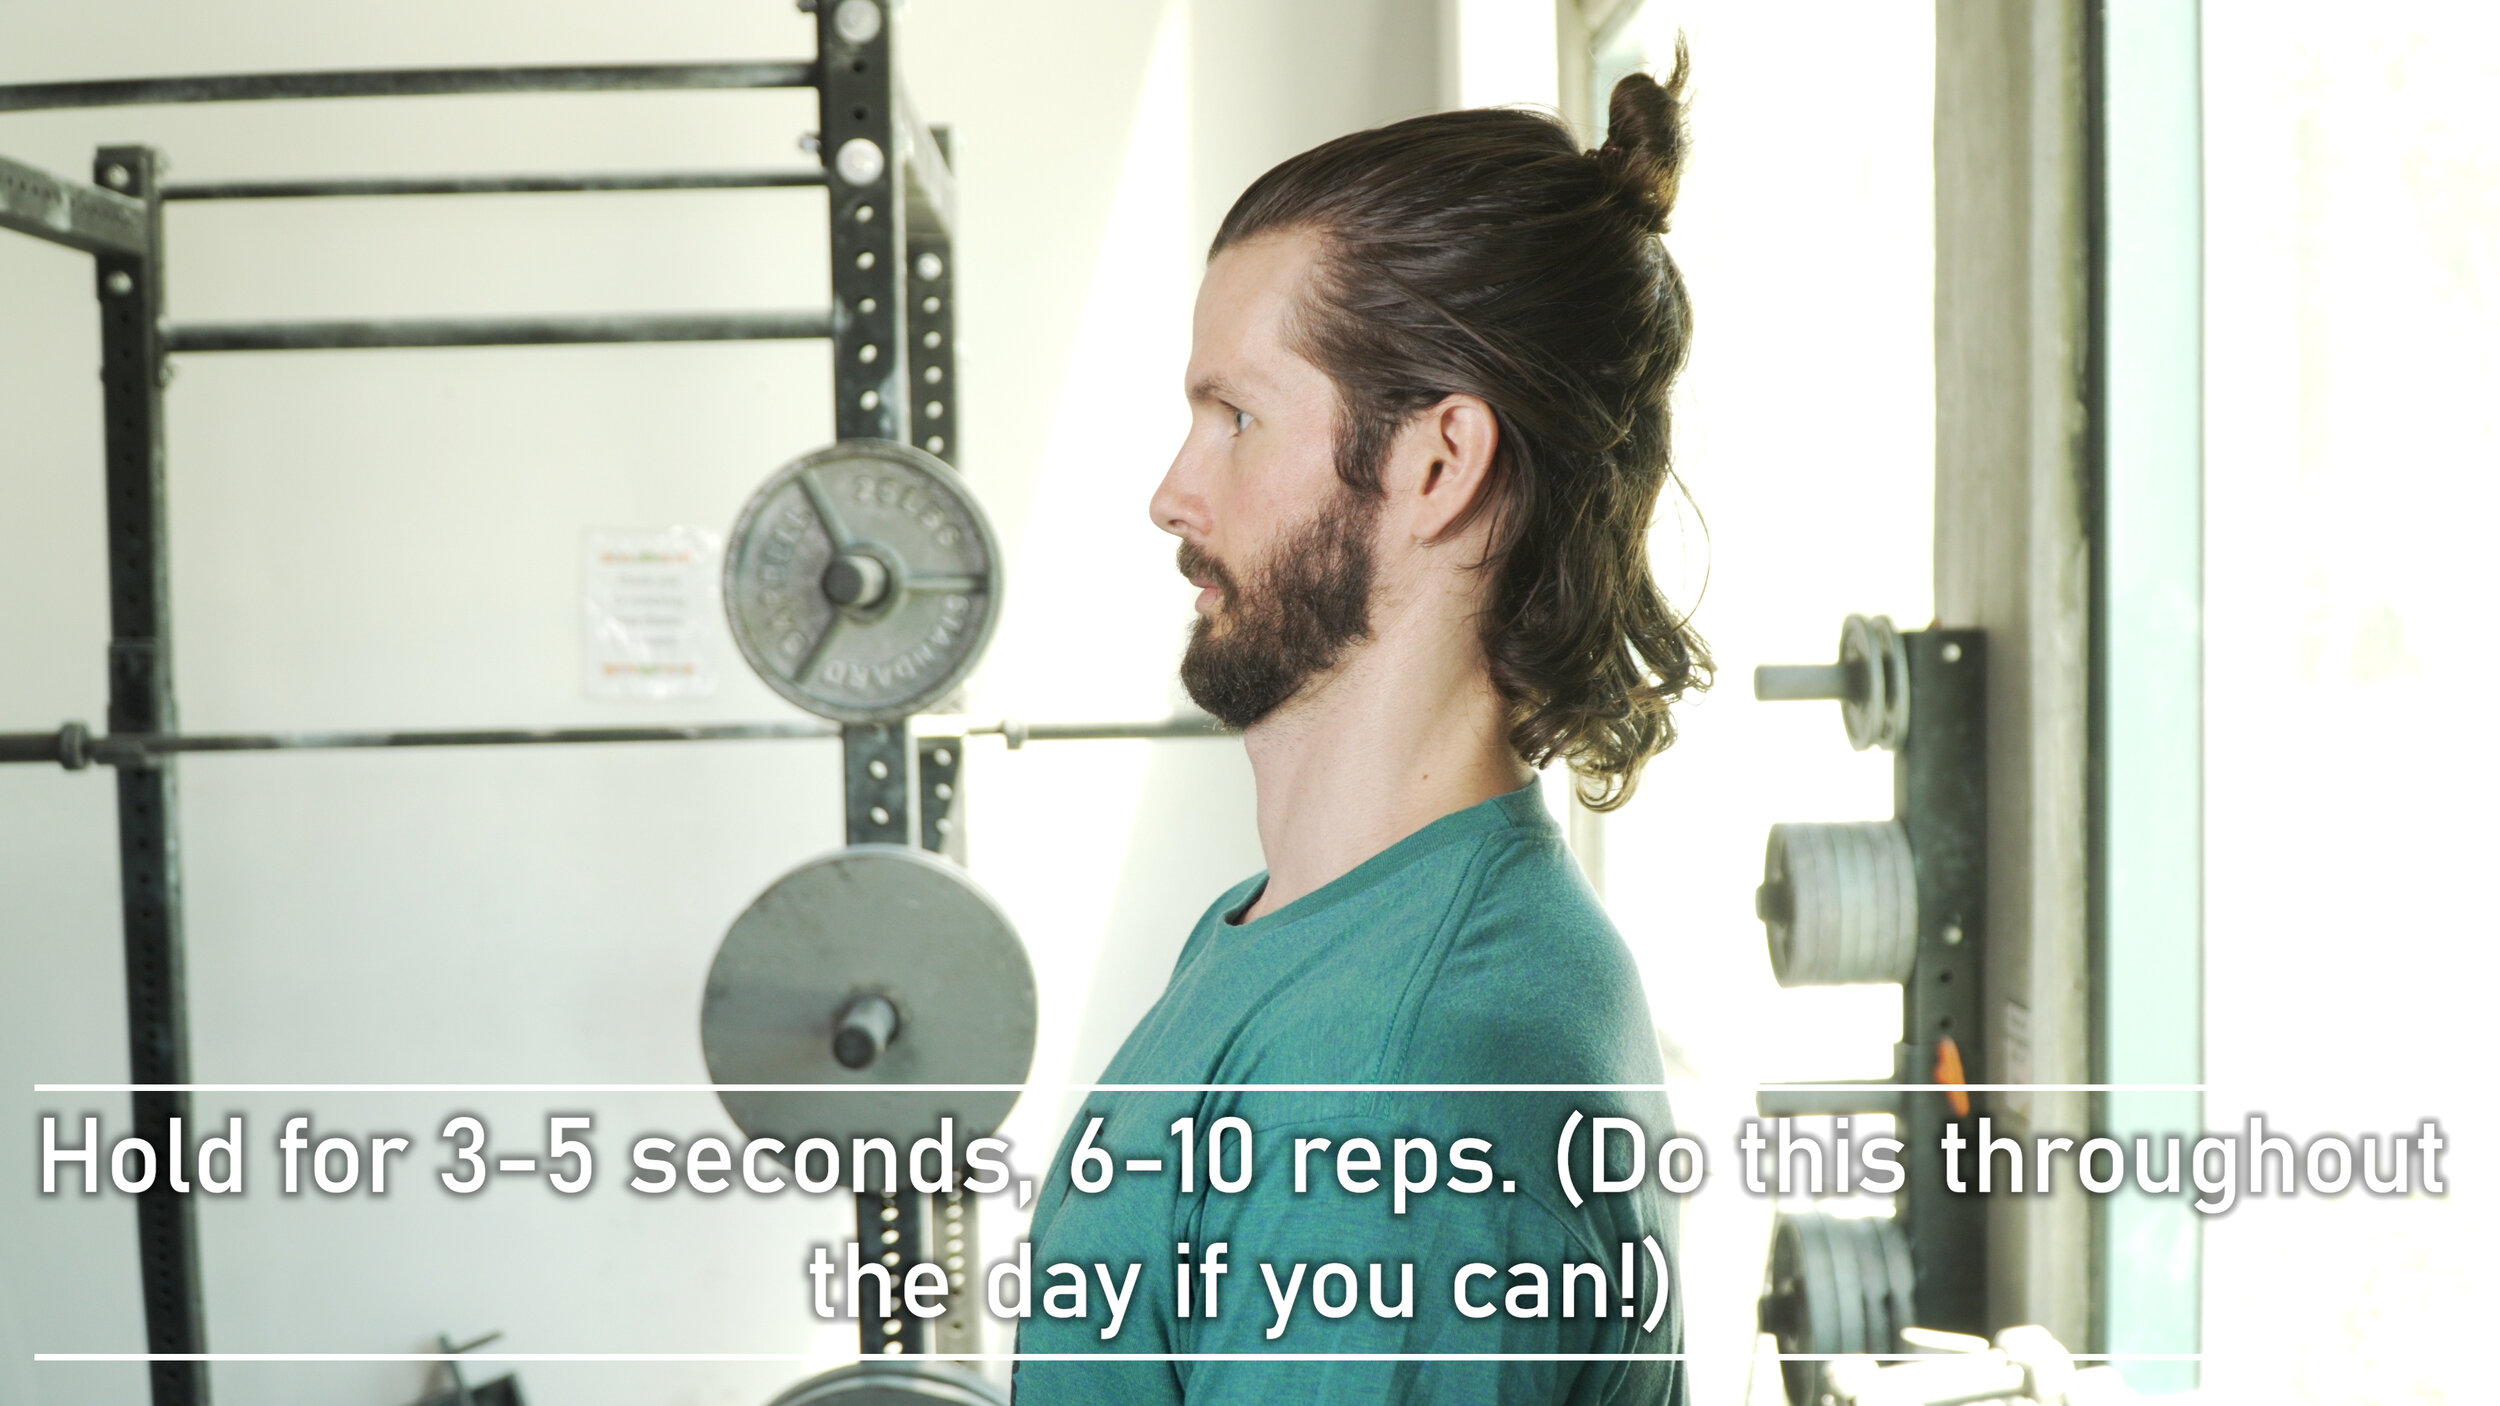
To perform a chin tuck, simply retract your head as if trying to make a double chin. You should not end up looking down at the end of this stretch, rather you should still be looking straight ahead. If you feel a little stretch in the back of the neck close to the head or even down into the upper back, great! You may also feel a slight activation in the front of the neck as you are activating your deep cervical flexor muscles. Hold for 3-5 seconds and then repeat about 6-10 times, as needed.
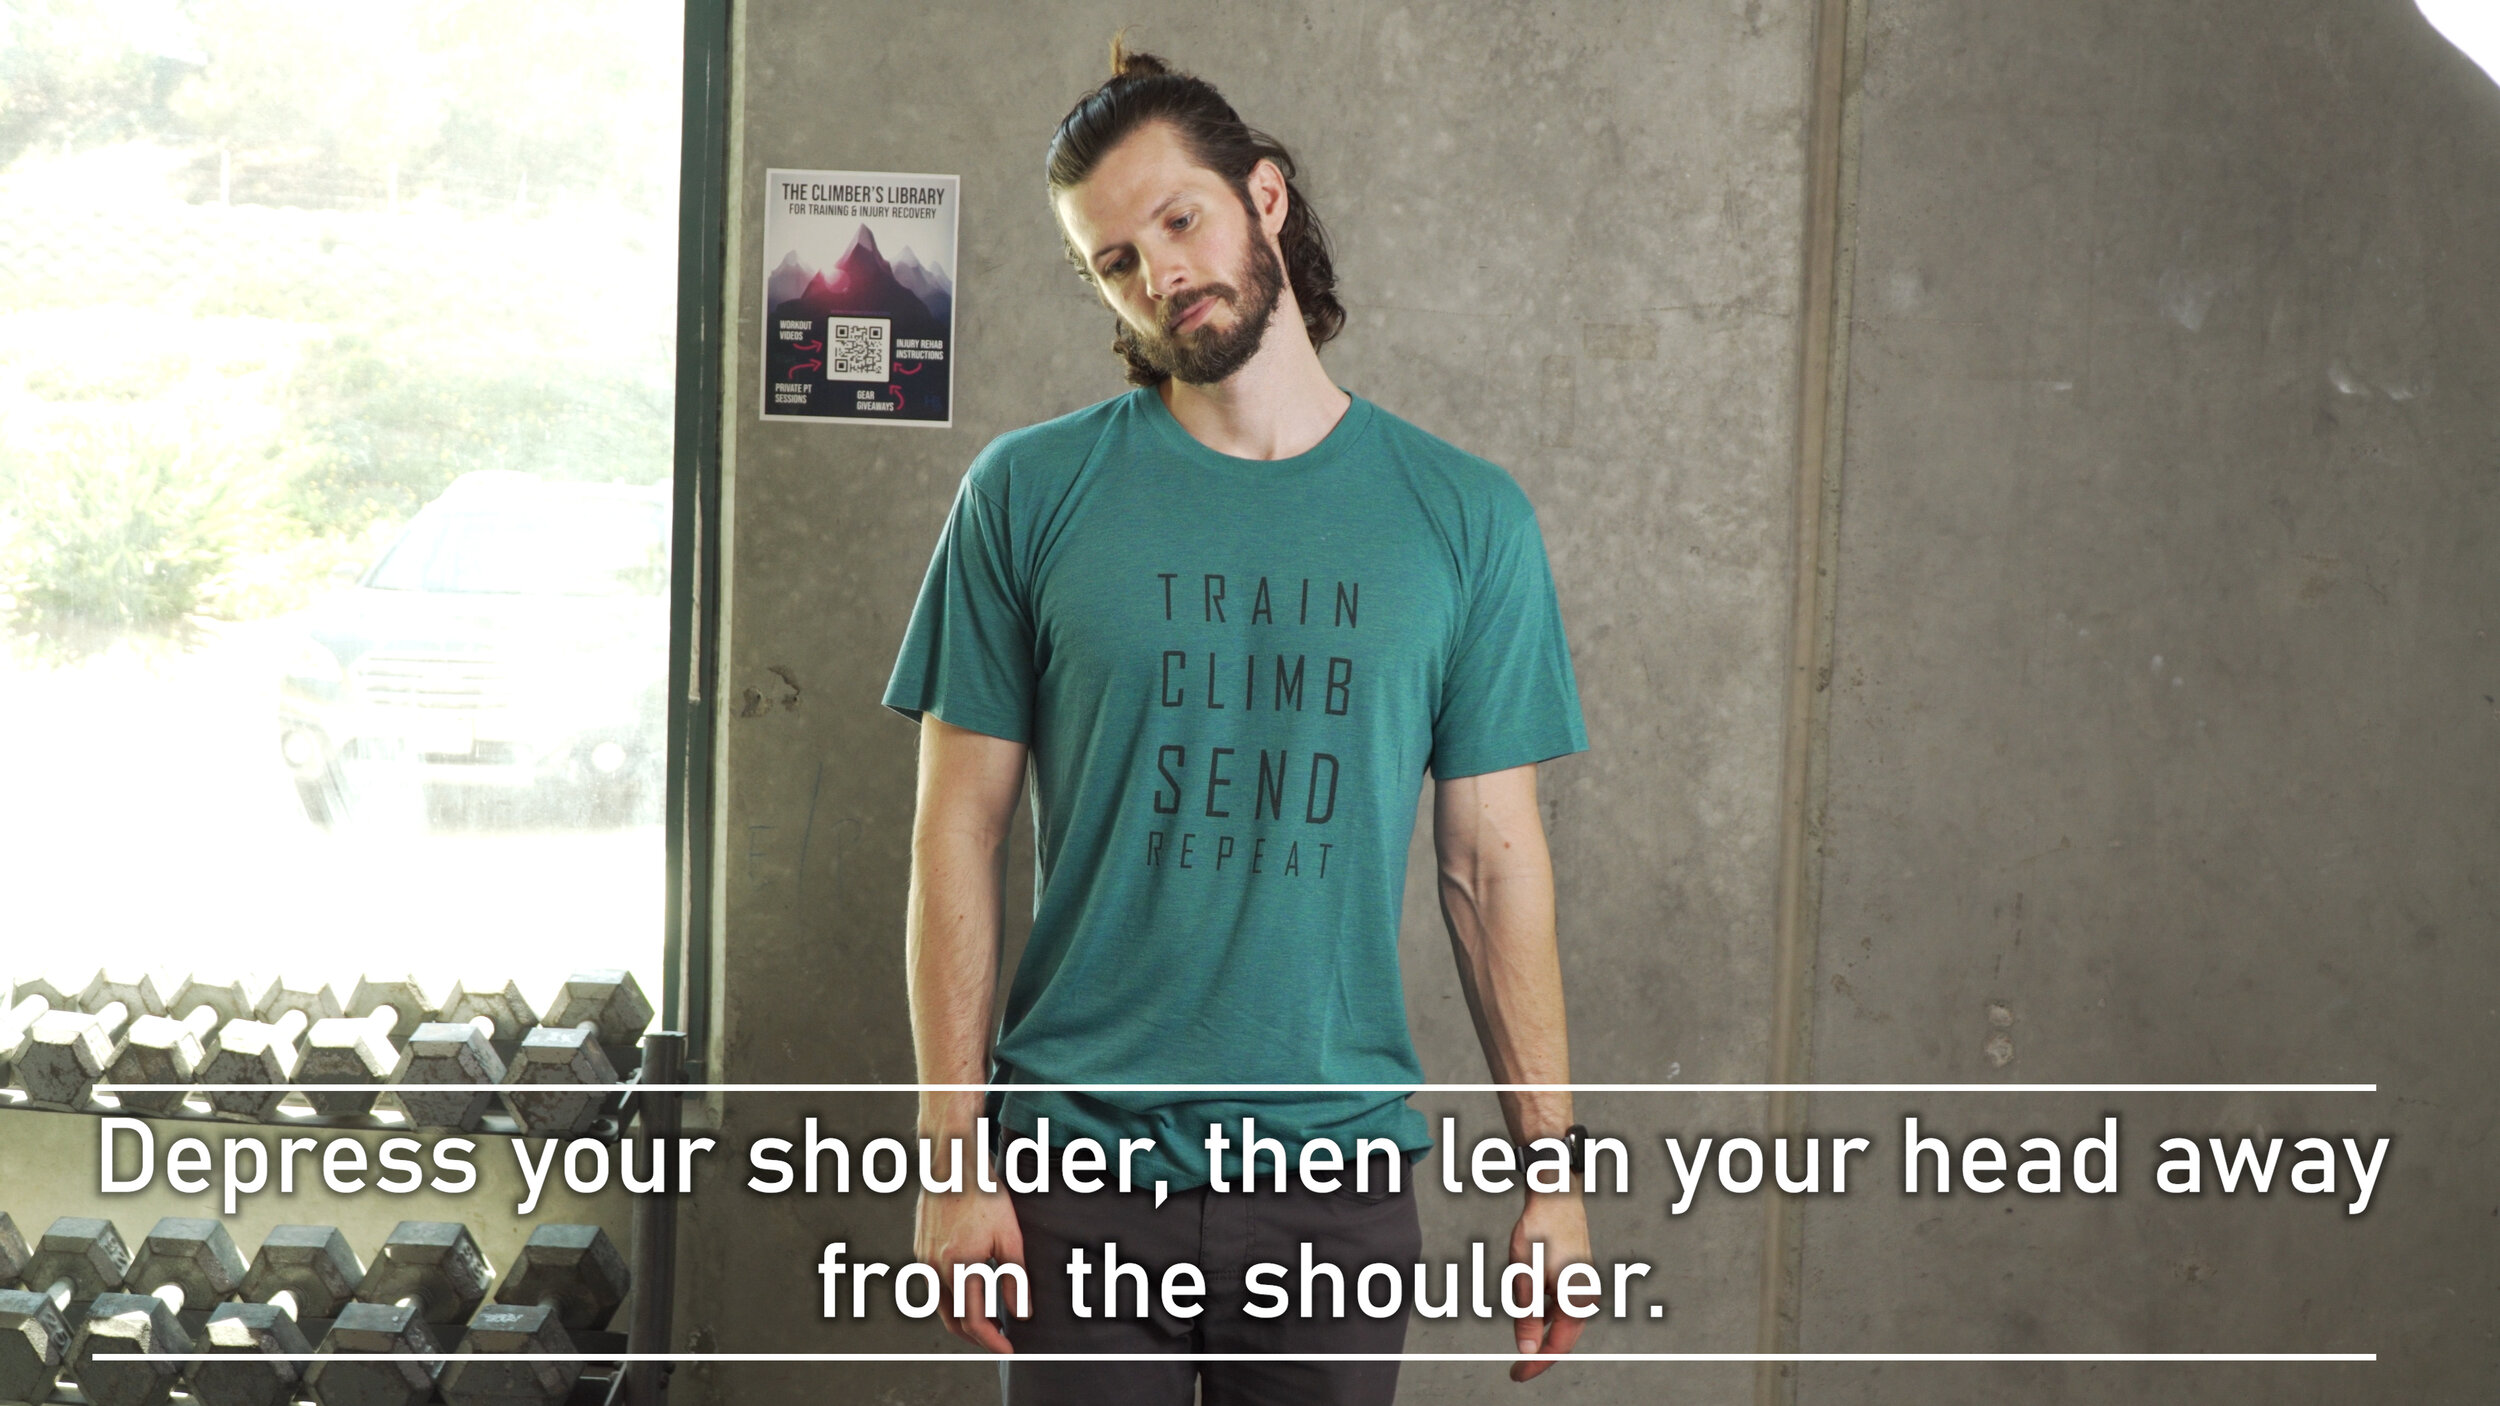
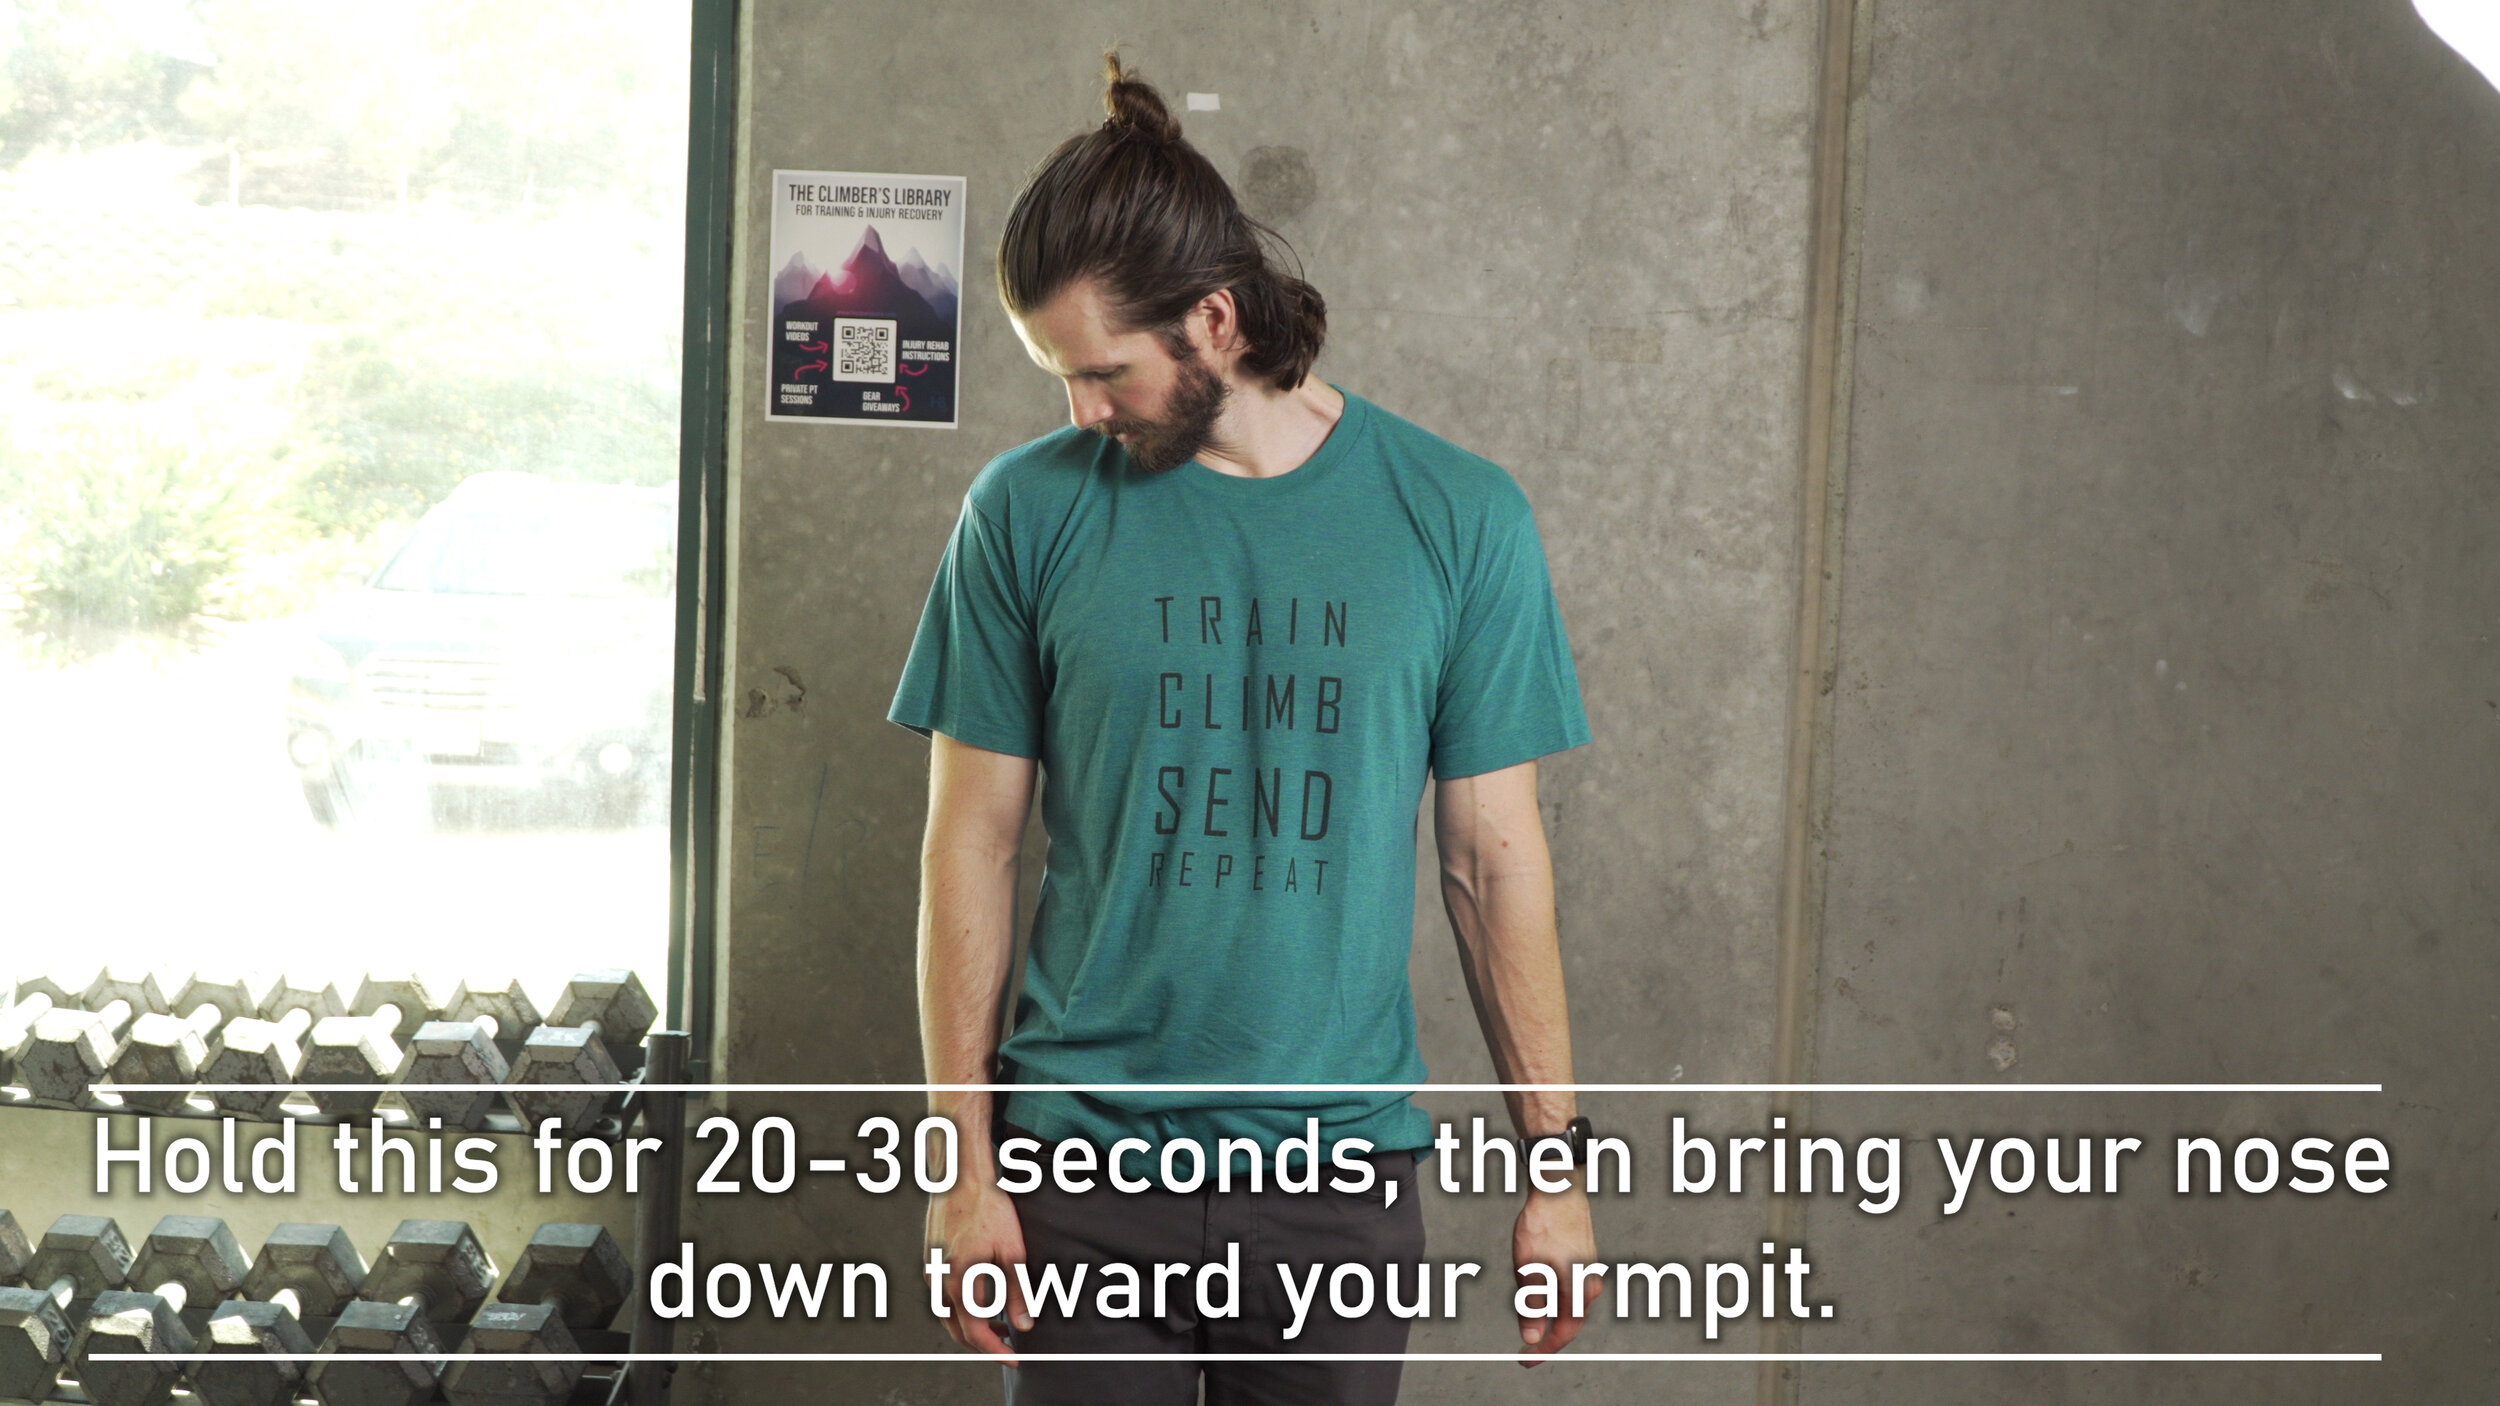
For the upper trap/levator stretch. Start by depressing one of your shoulders by reaching towards the ground. Next, simply bring your ear towards the opposite shoulder. You may feel a stretch by the top of the neck/bottom of the head, on the side of the neck, near the top of the shoulder, or even by the ear. That’s all fine as long as it does not cause discomfort. Hold for ~20-30 seconds, and then, while keeping the shoulder depressed, bring your nose down towards the opposite armpit. You should now feel the stretch shift slightly towards the back of your neck. Hold again for 20-30 seconds and then repeat on the other side. Perform 2-3 stretches on each side as needed.
Sets, reps, frequency: the chin tuck should be performed 1 set of about 6-10 repetitions, holding for 3-5 seconds each rep and can be performed multiple times a day. The upper trap/levator stretch should be done 2-3 reps on each position, 20-30 seconds on each spot, multiple times a day.
Strengthening
Finally, we move on to strengthening! Now, there are various muscles that may need to be strengthened, and this will change based on the individual. The most important will be to focus on training the deep core and improving awareness of this muscle group with your daily activities. Secondary to that will be to address strength deficits that may be present in the mid or lower trap. If you have weakness in your lower trap, definitely check out our video about the lower trap and some great exercises for that. Otherwise, a great recommendation is FACE PULLS WITH AN OVERHEAD PRESS!!! I can never get over that exercise, clearly.
A simple exercise to train the deep core is the Palof Press / Palof Walkout. Now, there are variations of this exercise, and many other great deep core exercises, but this is not a “12 steps to train your deep core” video, so let’s stick to the basics.
To perform the Palof Press,
Start with a pulley system or resistance band anchored at about chest or shoulder height.
Grab the band with both hands and hold it by your chest.
Move to your side to create tension in the band.
You should be turned 90 degrees left (or right) of the anchor point, so the resistance is running to your side.
Once you have created tension, tighten your core.
Now, the best way to think about this is to imagine you are pulling on a tight pair of jeans.
Once your core is engaged, slowly extend your arms until they are straight out in front of you.
As you extend your arms, you should feel your core tighten more to fight the longer lever you are creating with your extending arms.
Hold briefly in the extended position, and then return to start.
If you need more or less resistance, step away or closer to the anchor to do so.
Repeat 10 times and then rotate 180 degrees to work on the other side.
You should feel most of the work in your deep core (front and sides), and possibly a very mild amount in your lower central back (close to the spine). If you find this challenging and your core awareness is not great, you should perform 2-3 sets of this exercise, with the aforementioned 10 reps.
If you found that exercise to be easy, a simple progression is the Palof Walkout. With the same setup as before, simply extend your arms about 75% of the way, keep the tension, then take 1 step to the side, and return. This will introduce a multiplanar movement which will challenge your core greater, and will increase the resistance in the band so you will also be fighting the increased resistance.
Perform 2-3 sets of 10 repetitions of this exercise as appropriate, on both sides.
Now, to work on the mid and lower trap, let’s get going on FACEPULLS!
To perform the face pull with overhead press:
Start with a double stranded band secured safely in front of you.
Grasp it with both hands.
Pull the band towards you as you separate your hands and you rotate your arms backwards
Your knuckles will be facing backwards, palms forward and your elbows will be bent to 90 degrees with the shoulders in 90 degrees of abduction
Hold in this position, making sure to really fight for your fists to be back back back as far as they comfortably can, and your mid back really engaged and squeezing those shoulder blades together. Then… relax!
Repeat.
Now you’ve really opened up that chest, strengthening the back, and done an exercise that’s awesome for climbers.
Perform 2-3 sets of 10 repetitions, at most every other day, but 2-3 times a week should be sufficient.
Now, you’re all hyped up on the face pulls. You feel like a mega boss. You are a mega boss. Now……. It’s time for a dose of reality. Check yourself. But really. Check yourself. How is your posture? Are you being lazy? Are you sitting there watching this video with forward shoulders and a flexed spine? This is part of the problem. You can strengthen and stretch and improve core awareness like a boss, but you have to execute. Don’t stay in those positions forever. Get up. Move. Do some stretches. Just be aware of your positioning. Again, I’m not the posture police. But I am the statue police. Don’t just stay in that same position all day. Move! Change! Be aware, and you too can one day be that one person that everyone looks to and says “wow, they have the best posture”. I know that’s what we all strive for anyways, right?
PROGNOSIS
Now, while this can take weeks if you have a mild issue, months if you have a moderate issue, and months on months if you have a more severe issue, the great thing about this routine is that you should start to notice changes IMMEDIATELY! I mean, look at how we did before and after! Long term, lasting results will take a bit longer because you need to improve the mobility of your thoracic spine and lengthen some shortened muscles, but in all honesty, if you are consistent you should start to notices good changes in just a week or two. But, keep it up! It’s an ongoing battle because our activities call on terrible postures all the time. Once you believe you have corrected the issue, awareness becomes the most important aspect, but continuing this routine at least a couple times a week will help stave off the lurking hunch.
OUTRO
And that’s it! See, not too bad at all. This is definitely manageable, it just means you have to be proactive. And honestly, you should be. If not for the health and safety of your neck, shoulders, and back, do it for the confidence boost. Stand up tall, look like you know what you’re doing, even if you don’t. Don’t slouch over like you're 89 years old when you’re only 24.
And that’s it.
Train out of that climber’s hunch. Climb with renewed confidence. Send the problem and garnish all the attention with your great sending posture. Repeat!
Disclaimer
As always, exercises are to be performed assuming your own risk and should not be done if you feel you are at risk for injury. See a medical professional if you have concerns before starting new exercises.
Written and Produced by Jason Hooper (PT, DPT, OCS, SCS, CAFS) and Emile Modesitt
IG: @hoopersbetaofficial


