6 Tips & Tools that Blew Up My Climbing Progression
Hooper’s Beta Ep. 134
Intro
There are a lot of climbing tips and tricks videos out there, but sometimes they feel a bit… impersonal. So in this video, pro climber Dan Beall and I are each going to explain three pieces of advice we actually use all the time. These are actionable tips that have led to some of the largest gains in our climbing skills, and they’ll work for climbers at almost every level. Let’s get into it.
Jason
Using Deloads for Gains
Deload phases are simply short periods of time -- usually about a week -- in which you decrease the volume and/or intensity of your training and allow your body to recover from accumulated fatigue you may have built up. While it’s an extremely simple concept, deload phases have been one of my most useful tools for avoiding plateaus, avoiding injuries, getting stronger, and ultimately getting better at climbing. So, why are deloads so great? Well, in a perfect world, with the perfect training program and perfect body awareness, none of us would absolutely need a deload week. We would all manage our training load perfectly and arrive at each session fully recovered. But, in reality, that is a very difficult thing to accomplish, and in fact, sometimes it’s virtually impossible when you need to train at ultra-high intensities. Fatigue in our muscles, connective tissue, mindset, and even nervous system can build up slowly, sometimes without us noticing. In fact, our connective tissue is pretty devoid of any neurological hardware that could provide us with fatigue feedback in the first place. Without this feedback, and without being incredibly attuned to our body’s other signals, even conscientious athletes can find themselves plateauing in their training, feeling worn down and unmotivated, or developing an injury. So, I’ve found (with myself and with many of my patients) that taking a deload week every 4-8 weeks (or whenever I’m feeling particularly run down) is enough time for my body to recover from that accumulated fatigue and come back the following week fresher than ever. It costs little to nothing in terms of “lost training time” and in the long run you’ll actually end up stronger than before.
Using a Force Gauge for Better Data
The second tip that dramatically affected my climbing progression was using a force gauge. This has allowed me to obtain better data about the strength and health of my fingers before a climbing or training session. I always felt like my fingers took a long time to warm up compared to other climbers, and sometimes it was hard for me to tell when I was really ready to try hard. Sometimes I would throw myself at a project without much success, only to find several goes later that my fingers finally feel warmed up -- but by then I’d lost too much skin or energy to snag the send. Now, I simply use a mobile board and a force gauge during my warm up routine, which lets me see with objective numbers whether my fingers are truly warmed up and ready to pull at my max. The hidden benefit of this is that it also gives me insight into how healthy my fingers are that day. Can I reach my normal max strength numbers? In that case I know my fingers are fully recovered and ready to try hard. Or, am I way off my max? In that case I know I may not be fully recovered, perhaps a bit of fatigue is accumulating, or I may even be headed toward an injury. This has been incredibly useful for removing uncertainty in my training, allowing me to get more out of every session. It’s great for rehab too, since it provides an objective measurement of progress. Now, you can certainly obtain similar data with other methods, like measuring how much weight you can hang on a hangboard. But, I prefer using the force gauge with these recruitment-style pulls because it’s entirely autoregulated and less prone to external influences like weighted hangs. If you’d like to try out a force gauge for yourself, please consider supporting this channel by purchasing through the affiliate links on our webstore, which will actually get you $10 off of my favorite force gauge: the Tindeq. We’ve included a less-feature-packed but still-effective model as well.
Improving Heel Hook Ability
This may seem obvious, but one area that significantly improved my climbing was working on my heel hook strength and technique. Not only are certain climbs difficult or impossible if you can’t heel hook, but I’ve noticed that climbers who struggle with heel hooks naturally avoid them whenever possible, which shuts them off to massive beta advantages. In fact, I realized I was that climber because I hardly used them. One day a friend of mine literally said to me, “man, you’re really bad at heel hooks.” This was definitely a wake-up call that made me realize I had a huge hole in my beta arsenal. Aside from intentionally practicing heel hooks more frequently, there was one exercise that I found to be particularly useful, especially when I needed to maintain more external rotation during the heel hook, which is…almost all the time. This exercise is a simple single-leg bridge while in hip external rotation. This accomplishes a few things. 1) It helps target the biceps femoris, which is the more active hamstring muscle during an externally rotated heel hook. 2) It provides you with the opportunity to work on glute activation during this movement, which not only helps get your body “up,” but also reduces strain/stress on the knee which may help prevent knee injuries during heel hooks. In fact, a good indication that you have poor glute activation is that you feel a bit of discomfort in your knee when trying this exercise. 3) Finally, and most importantly, it simply gives you highly specific training on using your heels in an externally rotated position. Oh, and you can easily progress it by just adding a tiny weight on your hip as needed. The combination of all those factors helped me significantly progress my heel hook game, to the point where I can now tuck my heel into positions I never would have been able to previously and easily lever myself up to the next hold. So much new beta unlocked!
Dan
There have been so many insights and lessons learned over the course of my climbing career that it’s hard to pick just three, but the following tips have helped me for years, and I think they’re important for virtually all climbers.
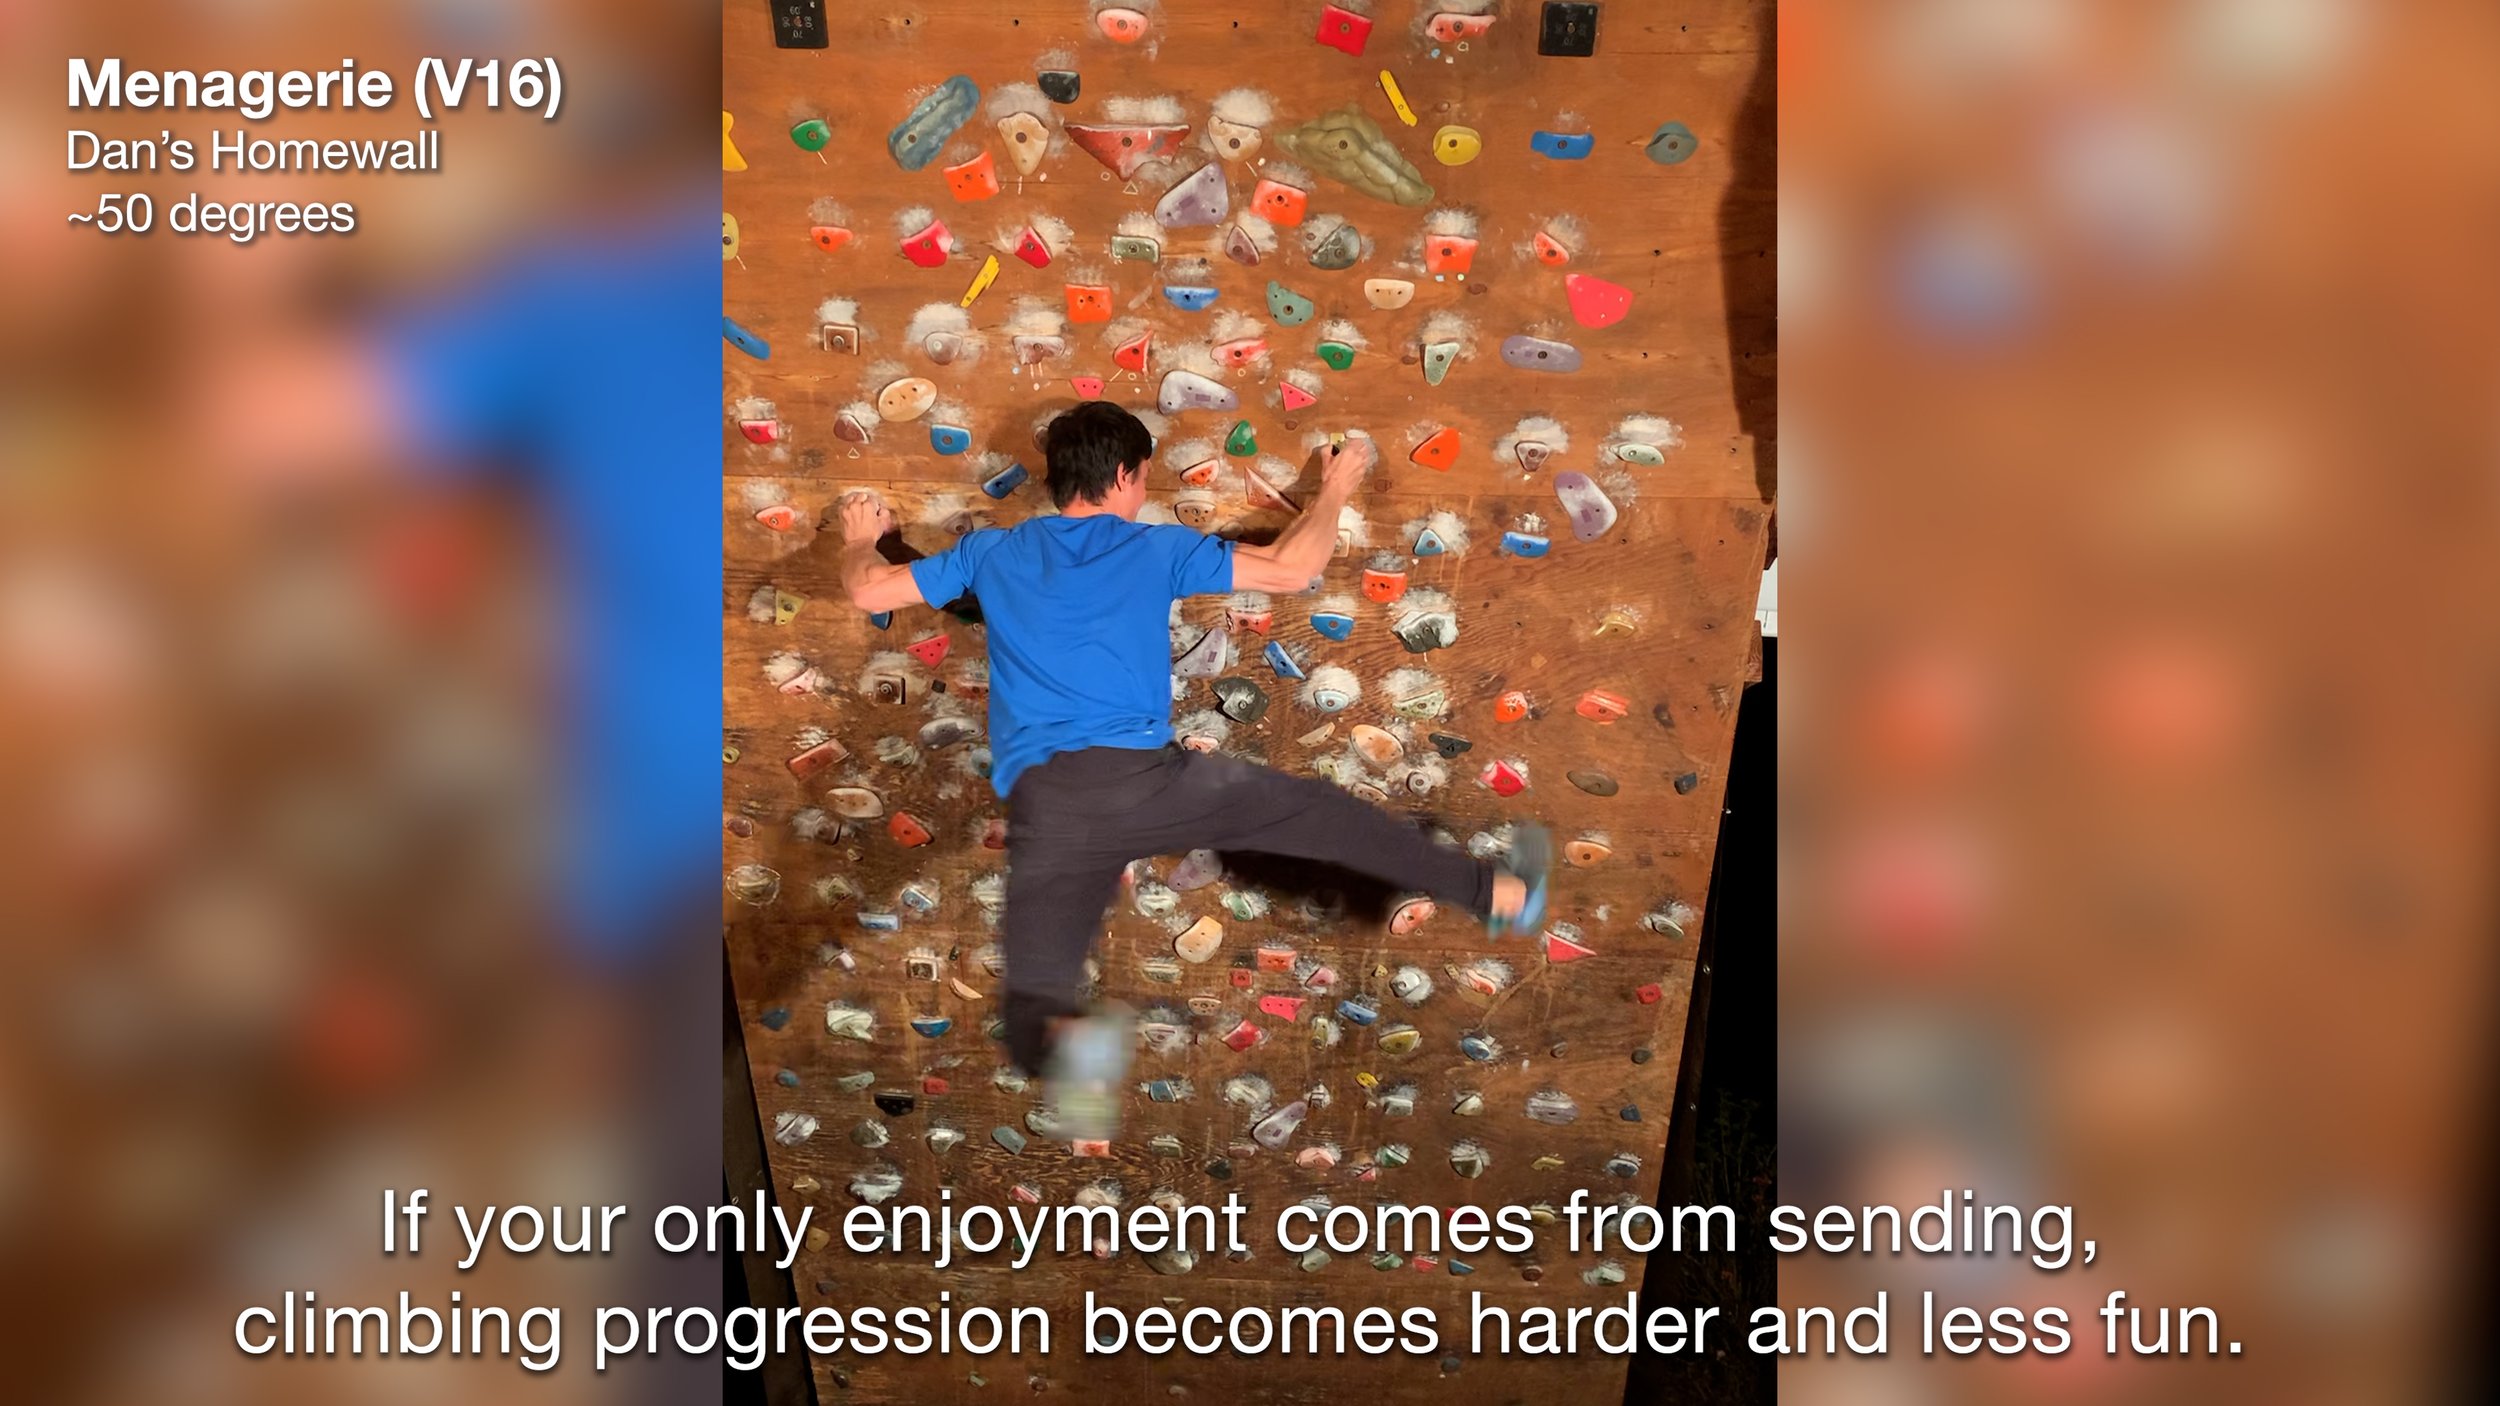
Tip 1: Redefining Failure
Tip 2: Climb at Other Gyms
This is increasingly important the longer you climb. When you’re getting in 3 sessions or more a week, you quickly exhaust the climbs near your range at your home gym, and even if you don’t, each gym and setting team has its own style. Regularly exposing yourself to a broader variety of styles will significantly expand your movement library, and your ability to read and imagine beta. As a bonus, you will also be exposed to other communities and make new friends with different backgrounds and approaches to climbing
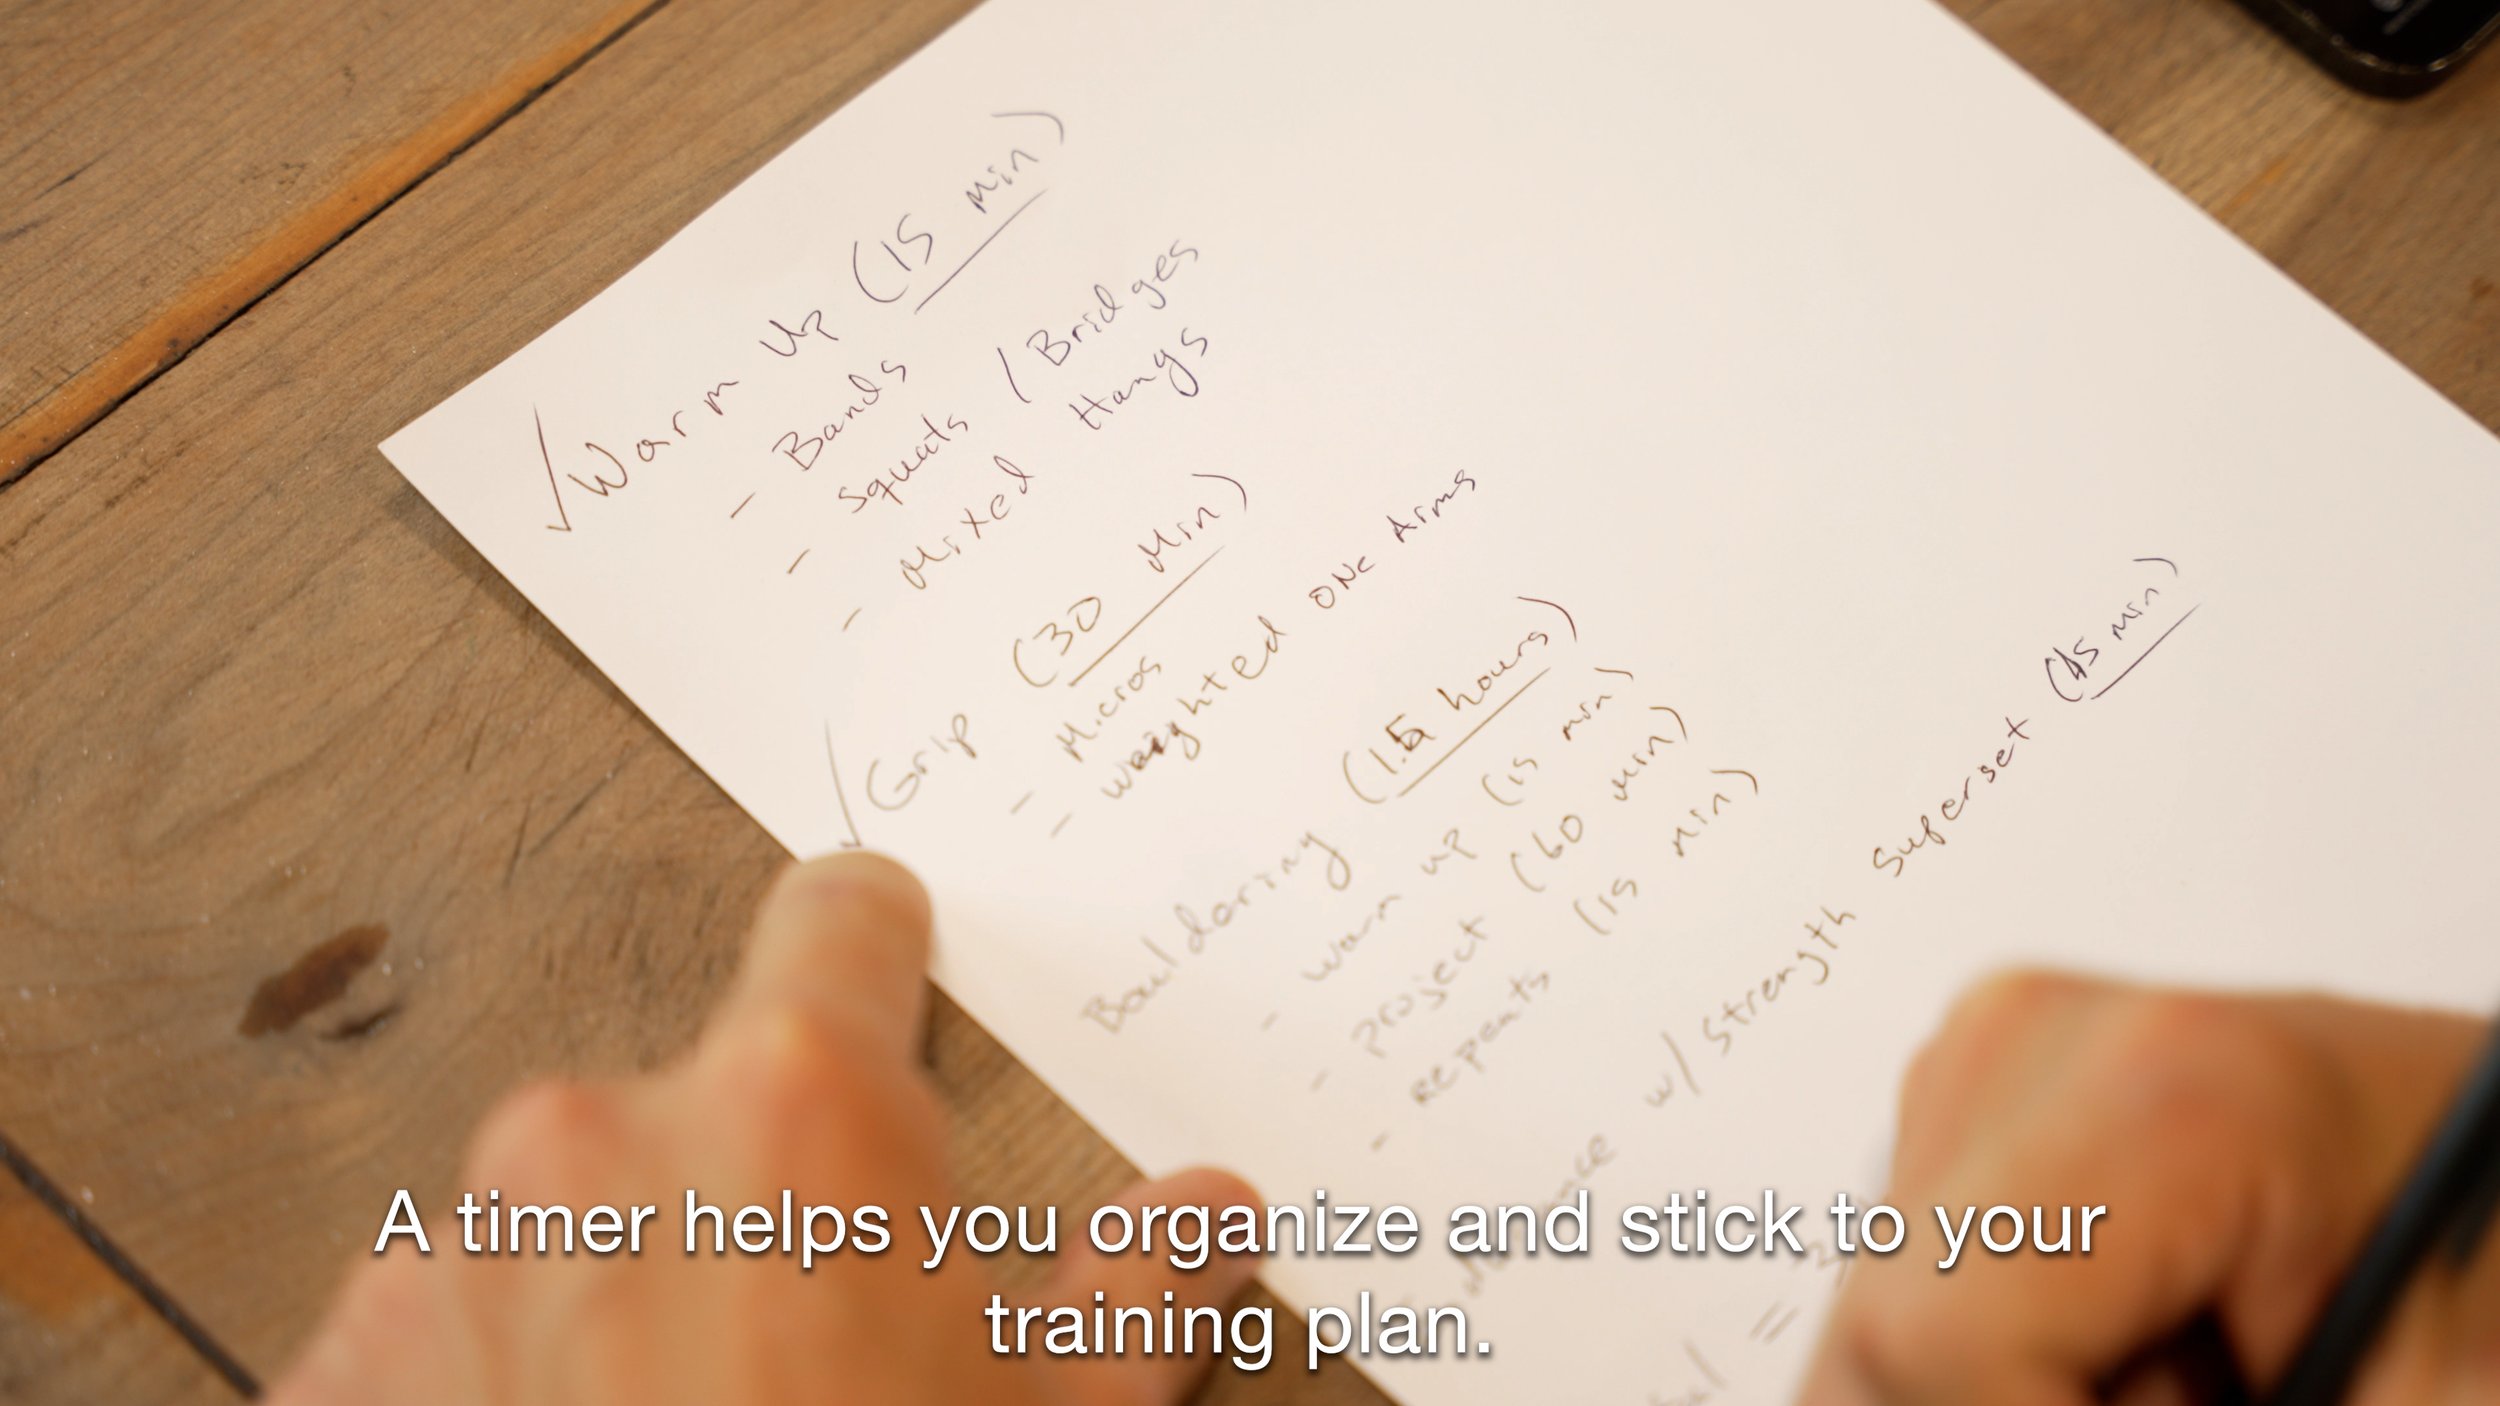
Tip 3: Use a Timer
Emile
Learning about Progressive Overload:
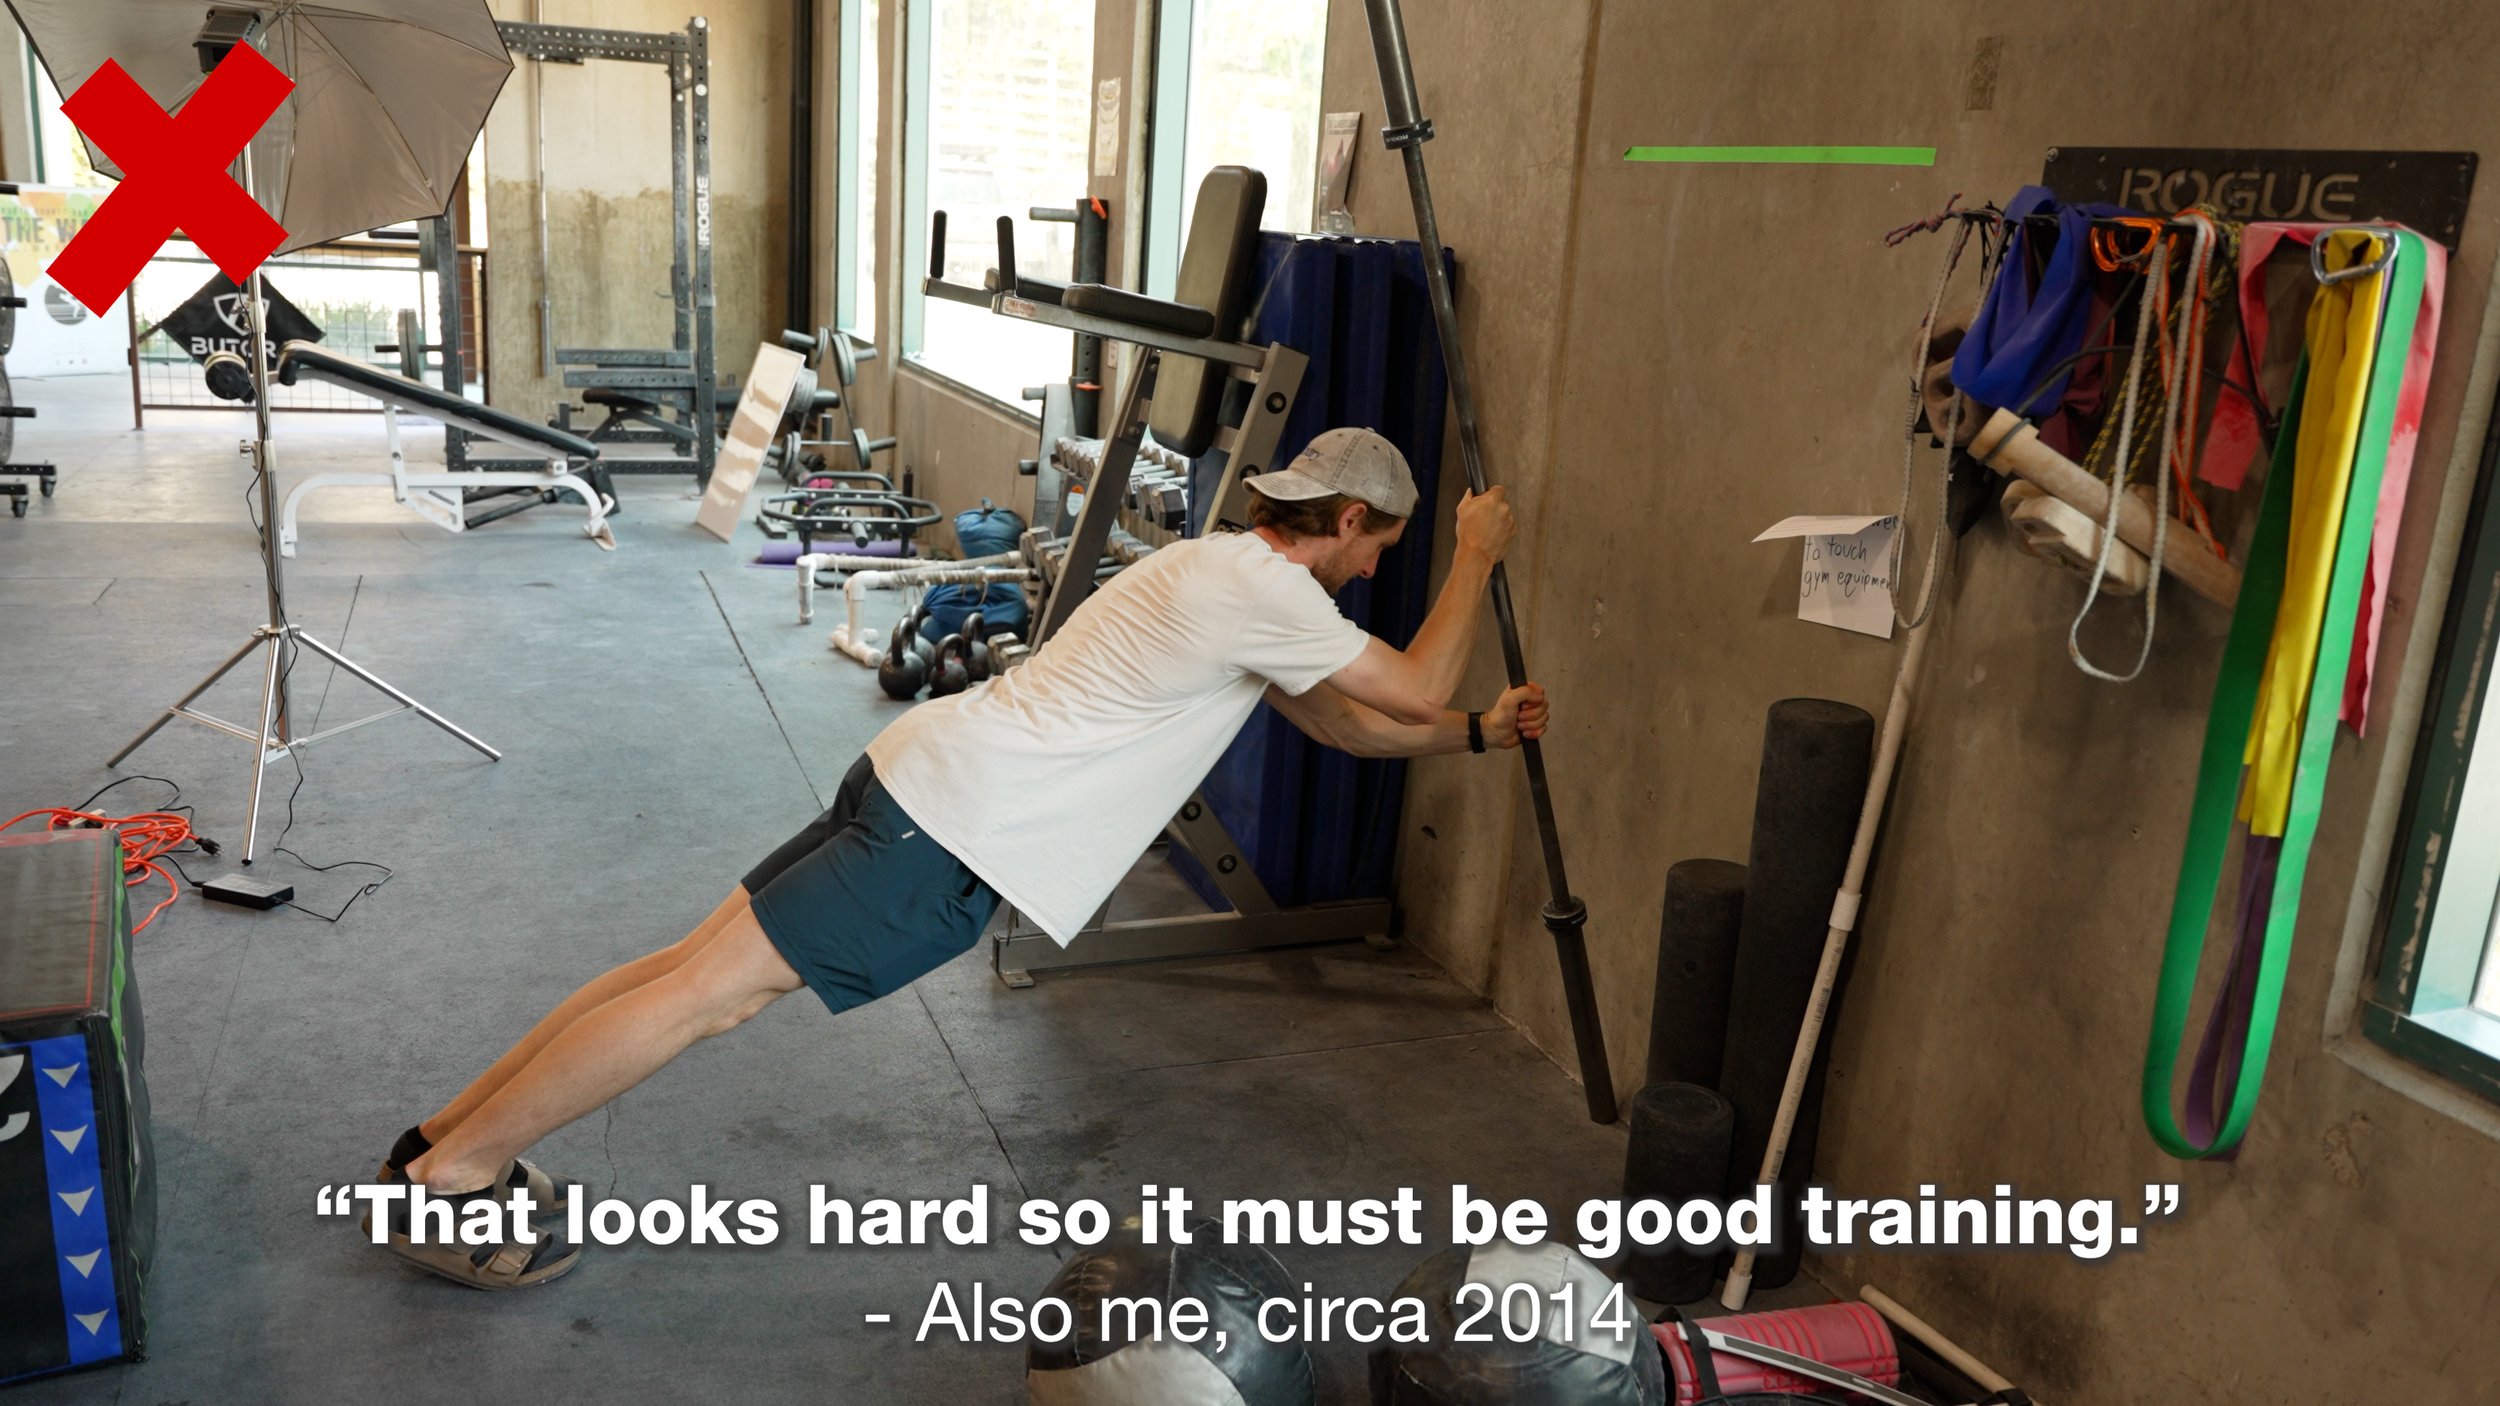
My most important key to progression as a climber was learning the importance of what’s commonly known as “progressive overload” in strength training. This might sound like a stupidly simple tip to experienced lifters or climbers out there, but since I had no prior fitness experience when I started climbing, I literally did not know this was a thing and there was no one around to tell me about it. If you’re in the same boat, then this tip is for you. Progressive overload basically just means you’re able to keep getting better at something over the long term by continually making it more difficult as your body adapts to the stimulus. So one week maybe you can do a pullup with +20 pounds, maybe next week you can do 22.5lbs, then 25 lbs, then maybe you switch to increasing sets instead of weight, then maybe number of reps, and so on. You’re just increasing the difficulty systematically from session to session or week to week. You can apply this to other things too, like your climbing sessions, though those can be harder to track. This concept helped me realize that a lot of exercises I copied from other people in my early climbing days were not intuitive or convenient to progress. I ultimately learned that if I want to use an exercise for strength gains, I must be able to make it harder week in, week out. And if I can’t progress a strength training exercise consistently, I’m really not making good use of my time by doing it. So, not only did this cause me to literally progress more effectively, it also gave me a useful way to identify which exercises were more useful to me than others in a vast sea of options. For anyone interested in learning more about progressive overload as well as the science behind muscle building, strength training, nutrition, and much more, I highly recommend the podcast from Stronger by Science. I’ll link a specific article in the show notes about progressive overload, but really the entire podcast is worth checking out. Their scientific literacy is unmatched in the fitness community in my opinion. It’s an incredible free resource that will completely transform your understanding of training.
Stronger by Science: https://www.strongerbyscience.com/weekly-load-progression/
DISCLAIMER
As always, exercises are to be performed assuming your own risk and should not be done if you feel you are at risk for injury. See a medical professional if you have concerns before starting new exercises.
Written and Presented by Jason Hooper, PT, DPT, OCS, SCS, CAFS
IG: @hoopersbetaofficial
Filming and Editing by Emile Modesitt
www.emilemodesitt.com
IG: @emile166


